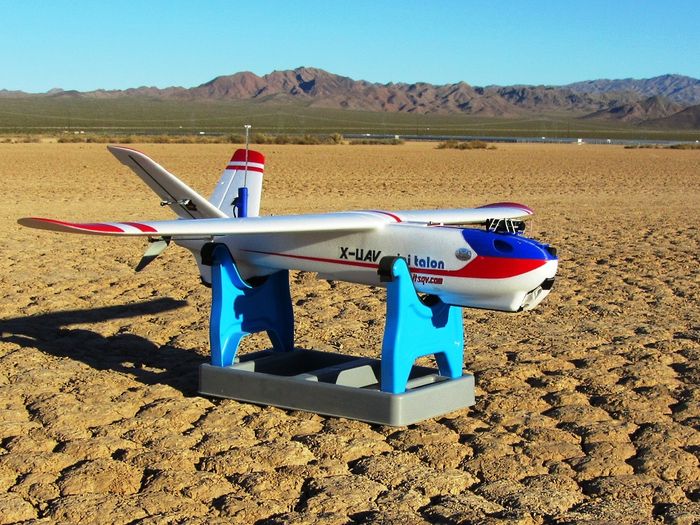
X-UAV Mini Talon Build Number 4
| |
| Number 4! |
Introduction - Mini Talon Number 4
On this, my sixth MT build and 4th owned, I have designed and printed a few new parts and decided to go a little lighter. I am using my favorite Cobra motor, folding prop, APM, Mobius, etc, etc, etc. For more information please see my builds for MT#1 and MT#2 at the bottom of this page.
General Specifications
Seller - ReadyMadeRC, USA
Aircraft - X-UAV Mini Talon
Build Date - April 2017
| Airframe Type - | Top Wing V-Tail FPV Specialist | All-Up Weight - | 55oz (1565g) w/ 4S/5200 Pack | |
| Wingspan - | 51 inches (1300mm) | 59oz (1670g) w/ 4S/6600 Pack | ||
| Length - | 33 inches (830mm) | 63oz (1776g) w/ 4S/8000 Pack | ||
| Wing Area - | 3.23 ft^2 (30dm^2) | *Wing Load w/5.2-4S - | 17.0 oz/ft^2 (52g/dm^2) | |
| Motor - | Cobra 2221/16-940kv | Max Continuous Power (4S) - | 375 watts continuous (4S) | |
| Propeller - | 9 x 7 Aeronaut Cam Carbon Folder | Max Prop Power - | 325 watts @ 2550ft ASL | |
| Static Thrust - | 1150 @ 2550ft ASL | *Static Thrust/Weight - | 0.73 | |
| Battery Type - | 4S1P Lipo | Battery Capacity - | 5200mah/10C | |
| In flight efficiency - | TBA | Flight Time - | TBA | |
| COG - | 60mm @ Wing root (Stock) | *With the | 5200mAh pack |
Flight Gear
The following are some of my selected components with links to some of my favorite vendors.
Power Set-up
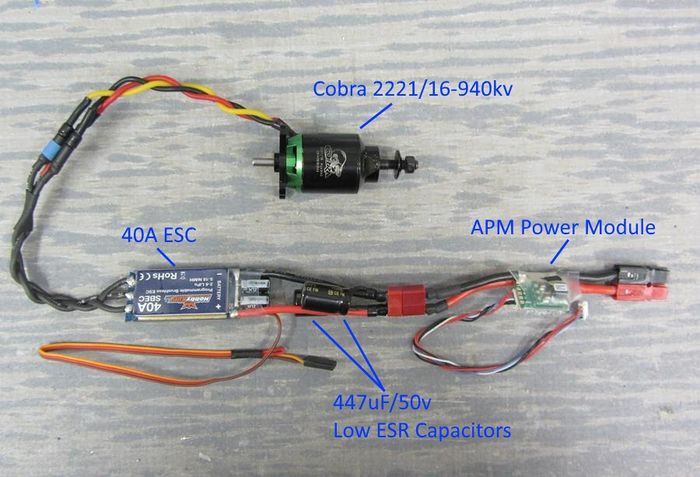
For power on this build I have chosen the Cobra 2221/16-940kv. For an ESC, I am using a HobbyKing Blue Series 40A with extra Low ESR capacitors added.
- Motor - Cobra 2221/16-940kv
- ESC - Blue Series 40A
- Prop - Aeronaut Cam Carbon Folder 9x7
- For more informaion on setting up a pusher folding prop - How To - Set-Up a Pusher Style Folding Prop
- Battery - Multistar 4S/5200, 10C
|
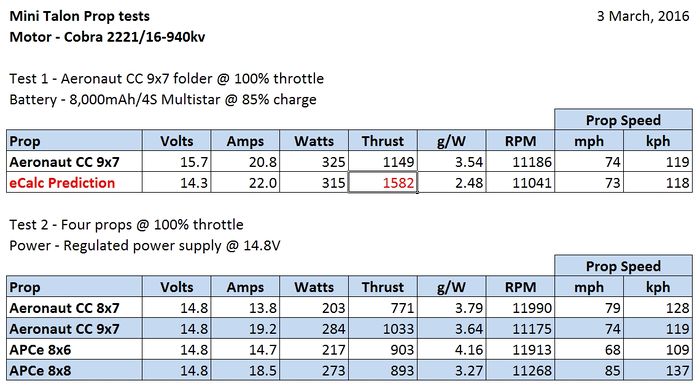
Power Test
Each prop run is ten seconds at wide open throttle with a battery starting voltage of 4.1v per cell (16.4v). This test is repeated three times and the results are then averaged to mean values for direct comparison.
|
Flight Control
For flight control I have chosen another APM 2.8 from Ready to Fly Quads. It is very inexpensive and in my experience completely reliable.
-
- w/Arduplane 3.4
RC Control
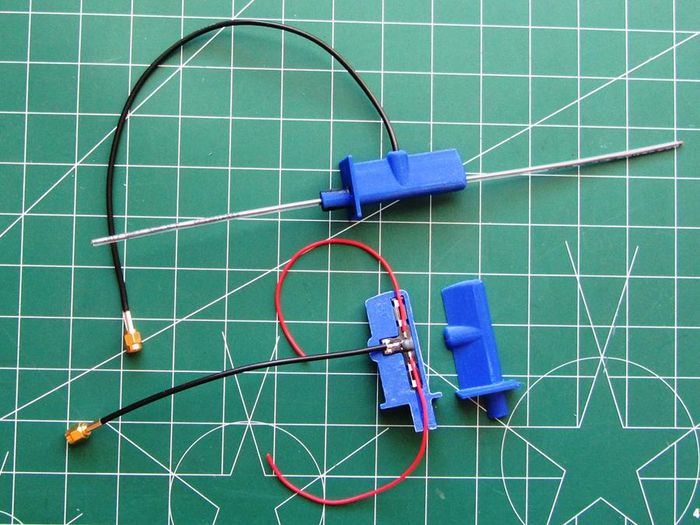
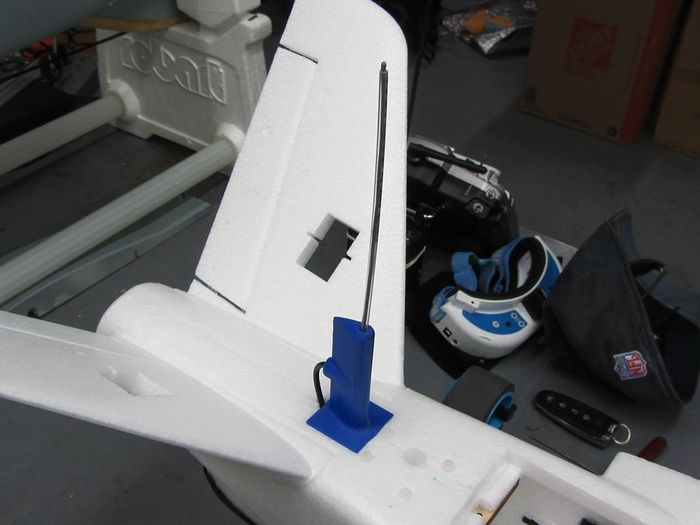
For radio gear I am using my standard DragonLink V2 system. I have made a new Antenna holder for the DL dipole that puts the lower element burried inside the lower fin.
|
| Antenna mount print parts |
|
| Mounted on MT4 |
OSD
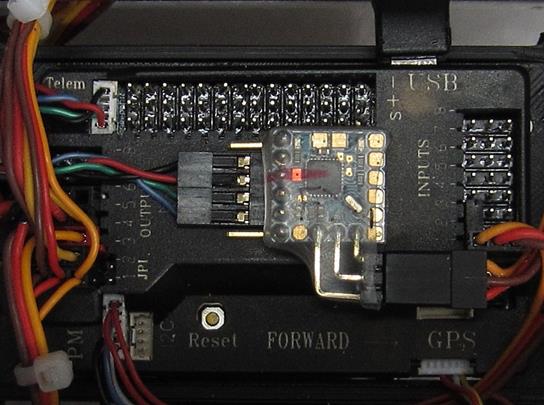
For an OSD I am again using the Micro MinimOSD which is reliable and easy to set-up with the APM. A big advantage is the size as I am able to servo-tape a 4 pin servo connector on top of the APM case and simply plug the OSD into the connector. I am using the MinimOSD Extra firmware version r800 because it has been ultra stable for me and has the display features I like.
-
- w/Firmware r800
|
Video Downlink
For the video downlink I am using an RMRC 1.2/1.3G VTx with a DragonLink video dipole. I will either run 200, 400 or 800mw depending on where and how I am flying. For an FPV camera I have selected a Fatshark V2 700tvl unit because of its size and decent performance.
Airframe Build and Assembly
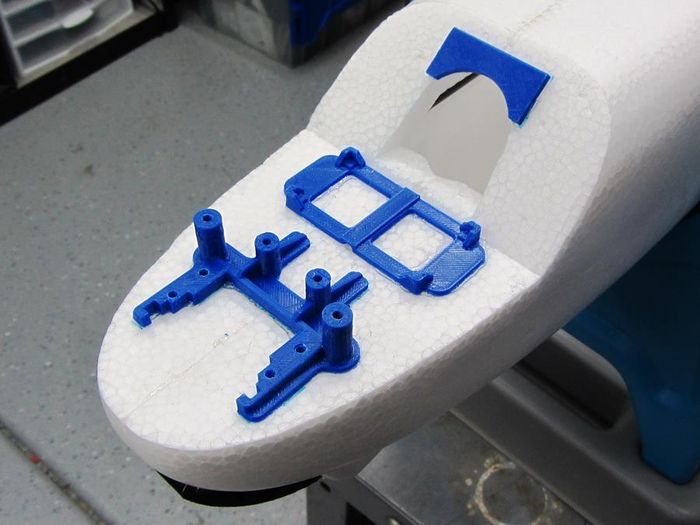
For this build I developed a few new 3D printed parts to make component installation even easier and a little lighter than previous builds. Here are pics of the new components:
|
| Canopy mounts and VTx saddle |
|
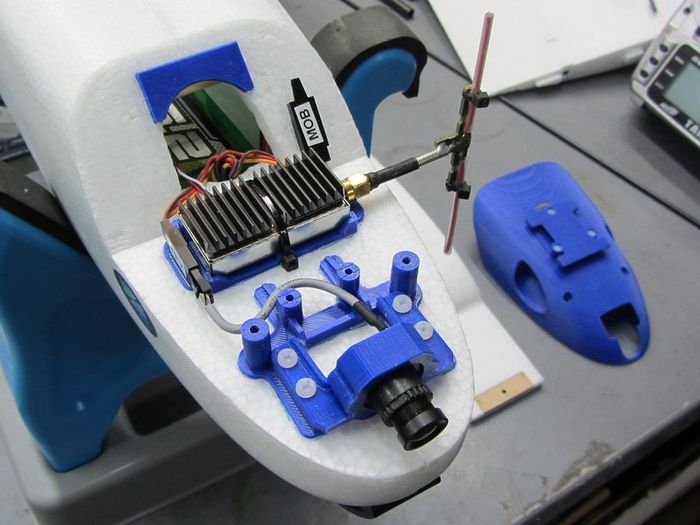
| Canopy gear loaded in |
The canopy I printed for this build has a custom cut-out in front for the Fatshark FPV camera and my standard 4 bolt mount on top for either a cover, a lightweight pan and tilt or a plain Mobius mount plate (shown). The Mobius mount plate can be raised on stand-offs if necessary.
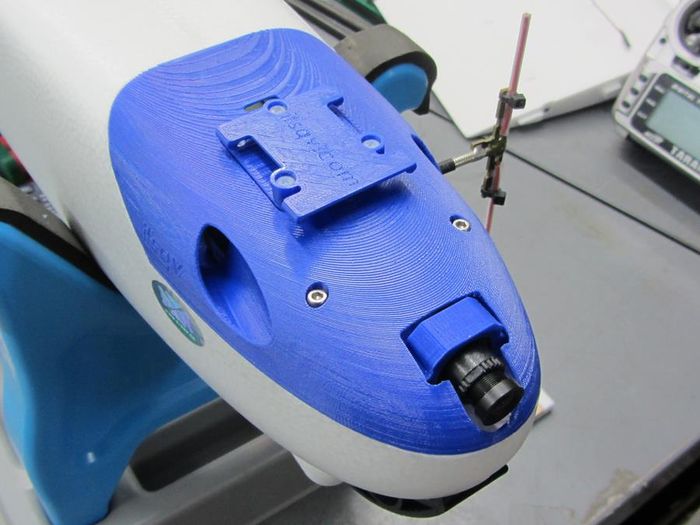
|
| Canopy installed with Mobius mount plate and Fatshark FPV camera |
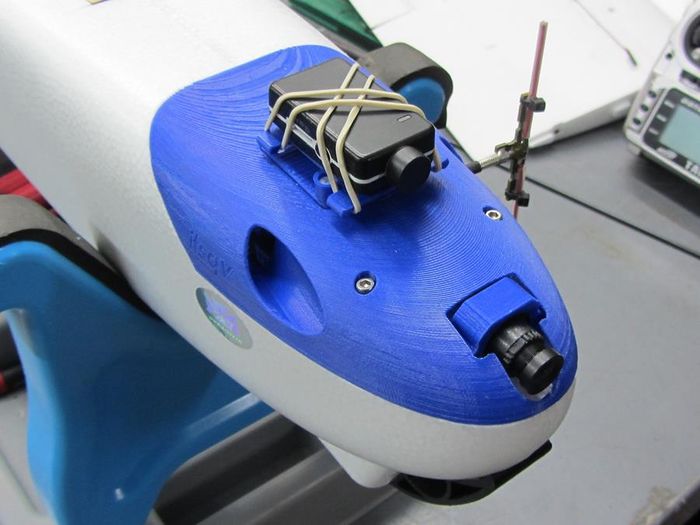
|
| Loaded up with the Mobius Mini |
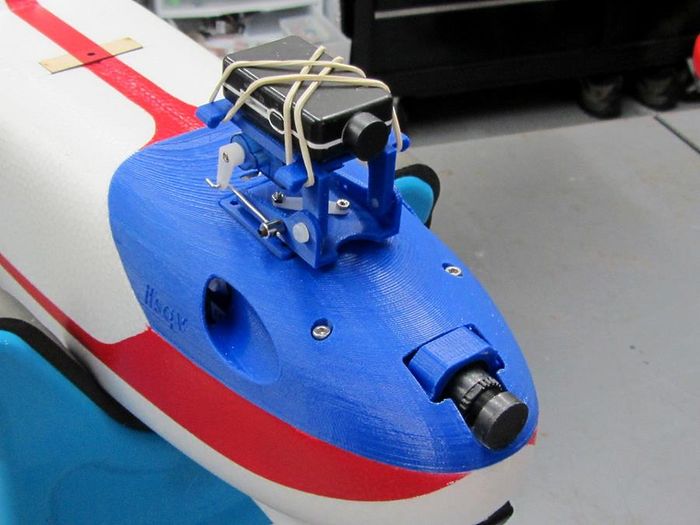
|
| Optional bolt-on Pan and Tilt |
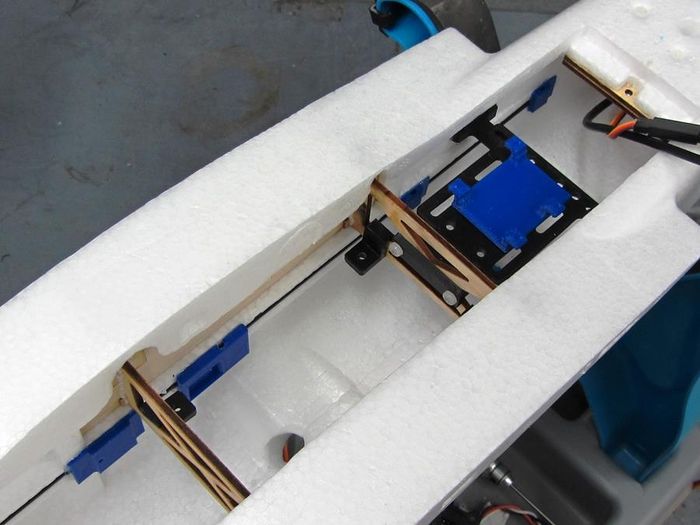
|
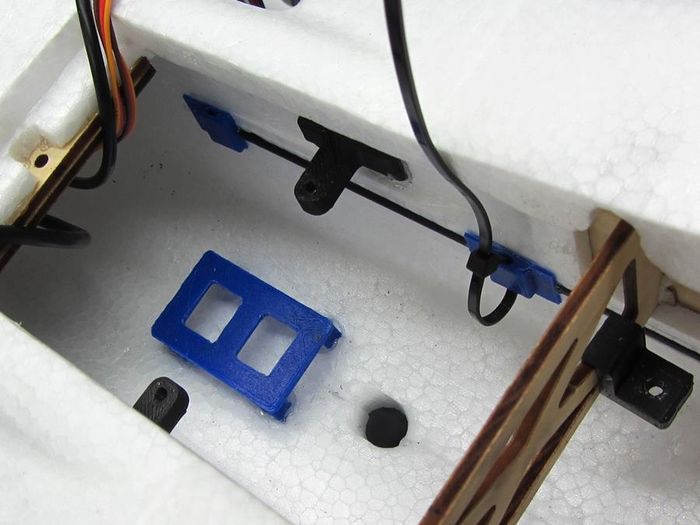
| Inside showing rear deck, APM PM mount and APP connector mount |
|
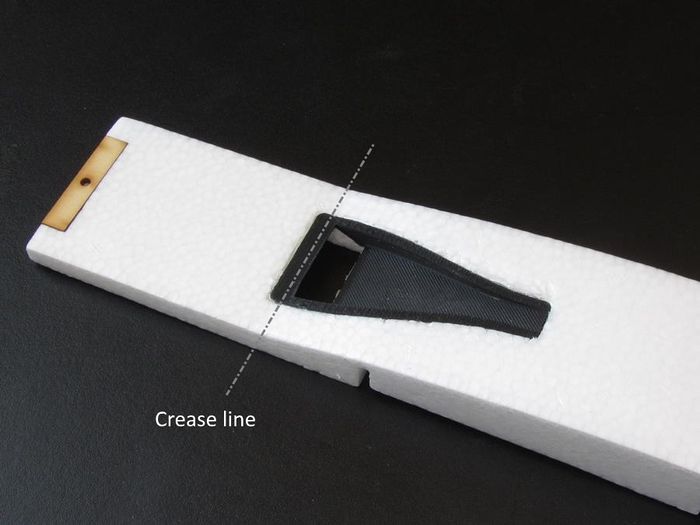
| Rear inside showing ESC raised deck and wire-tie clips |
|
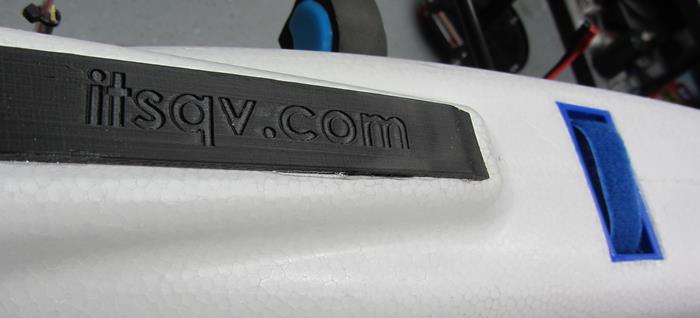
| New NACA style vent which is contoured to fit the hatch |
As per usual I mounted my front and rear ABS skids and battery strap well.
|
Gear Deck
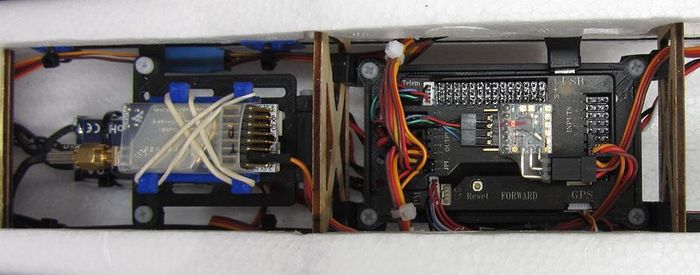
My new printed gear deck has new threaded deck clips which are smaller and easier (I think) to set-up. It is still big enough for a standard APM FC and also a Matek Duo dual output regulator underneath.
|
As I have done with all my MT builds, there is a USB extension plug which, through a small cut-out in the fuse, makes it very easy to plug the flight controller into my laptop without having to open up the plane or move wires around, etc.
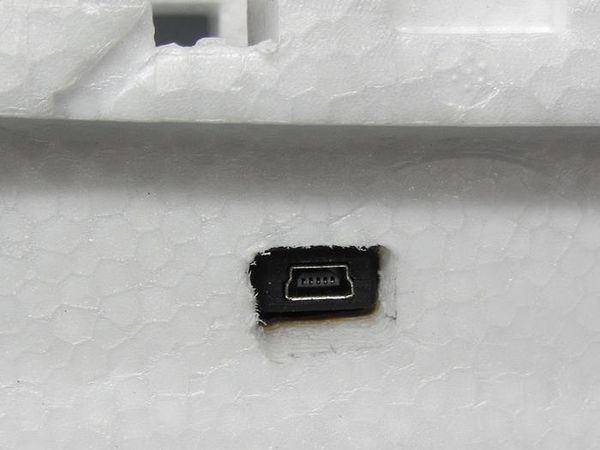
|
| USB plug |
Ruddervators
On the tail linkage I used a similar set-up as on MT#1,2 & 3. That is I used spherical rod ends to deal with the high miss-alignment caused by the stock geometry which puts the linkage at an angle to the control surface. The one difference on this build is I used 2-56 (.072") threaded rods and Dubro Kwik-Clips instead of soldered brass couplers.
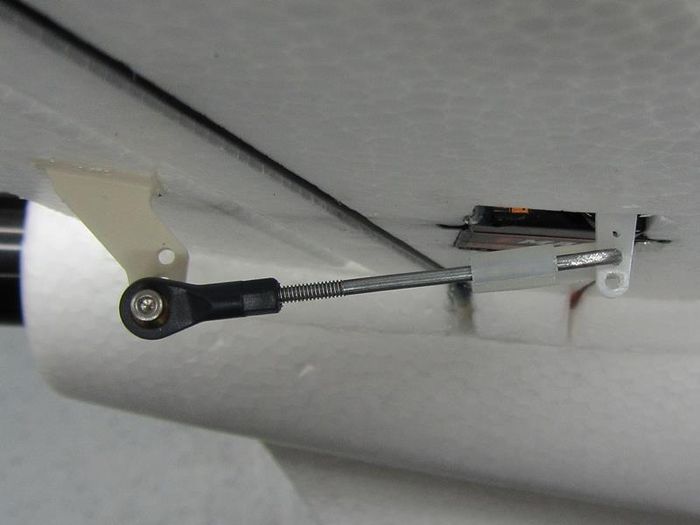
|
Wings
Nothing new or special here. I added 1" (25mm) of 3 mil laminate to the leading edge. Linkage is the same as the elevators and servos are Emax ES08MA (Analogue).
Some Graphics
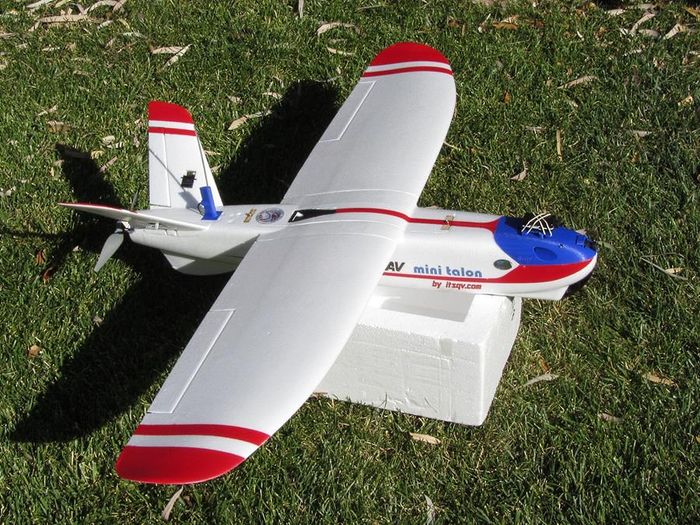
It's always tough for me coming up with a color scheme that is different and isn't too ugly :)
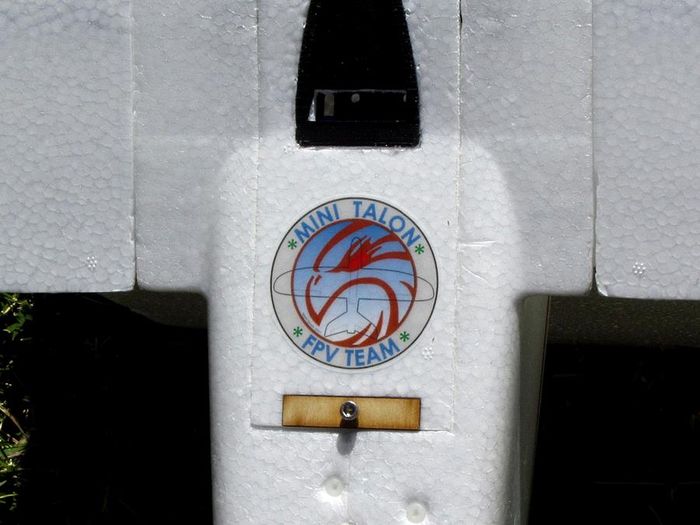
|
| You have to have a patch! |
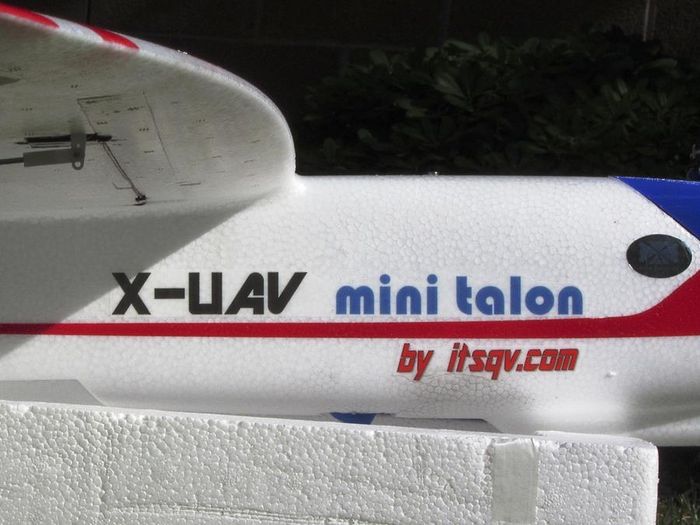
|
| Decals and Paint |
|
| Another top view |
Mods
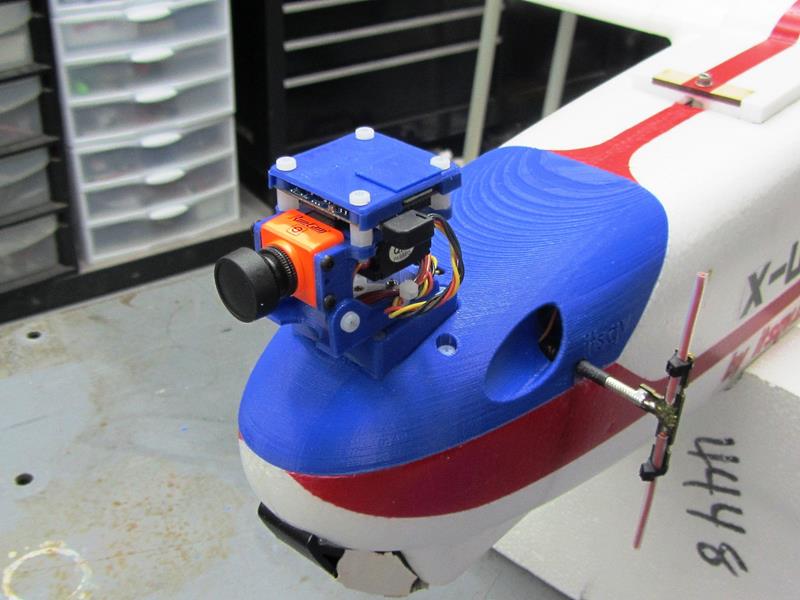
- Changed the front canopy to accomodate a new RunCam Split pan and tilt
- STL print files - TBA
|
Back to Basics
March 2019
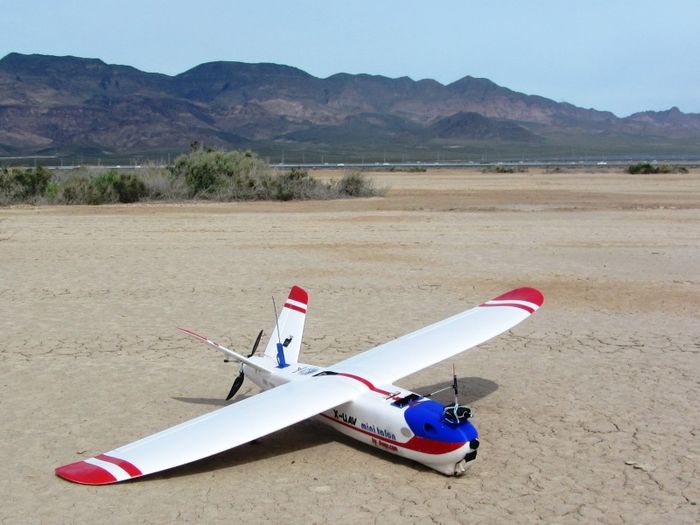
After trying many more options including three different P&T's, a brushless roll gimbal and several cameras I have gone back to a static mount for my Mobius Mini. This is very simple, lightweight and still gives me great video.
|
I have also changed out the flight controller for my new favorite - The Matek F405-wing running Chibios/APM firmware. This controller is amazing in that it carries enough on-board power to run all four servos, RX, GPS and the VTx and camera which are also fully filtered by the board. It also has an on-board OSD which, with the newest APM firmware is awesome. It is a far simpler and cleaner install than any other controller I have used and on initial flights I did zero tuning and it worked perfectly. Another nice plus is the Matek saves me 68g over the APM + BEC's and 82g over the Vector + BEC's!

|
| Look Ma, no BEC's!! |
Now that I have gone "back to basics" the AUW with a 7000mAh/4S Liion is 1538g and with a 6600mAh/4S Multistar, 1680g.
As always, she flies beautifully!
See Also
- Mini-Talon on RC Groups
- Mini Talon Noses
- X-UAV Mini Talon Build Number 1
- X-UAV Mini Talon Build Number 2
- X-UAV Mini Talon Build Number 3
- X-UAV Mini Talon Build Compilation
- Parts Catalog - Mini Talon
Project 3D Print Files
The following are the 3D print ZIP files shown in this build.
Some of the Vendors I used for this project