How To - Create a Kevlar Skid Shield

| |
| Kevlar and CA, an awesome combo! |
Introduction
The first time I used this method was in 2003 when I was building a Sig Models LT25 balsa model. In the instructions they show how after the wings are glued together you should put a layer of fiberglass across the seam and soak it with thin CA. I was amazed at how strong this made the wing join.
Looking through RC Groups to find a better way to create a rock shield or skid plate, I found a few posts on the FX61 thread by poster Melsailsnorth on using CA and lightweight Kevlar cloth. Turns out it works really well so I like to call this the "Mel Method"! This article then covers what I have learned about this including a cheap way to make awesome Kevlar cloth cutters.
Light Cloth & Cheap Scissors
Kevlar is really tough stuff so you don't need a heavy fabric. I have used 1.7oz and 2.5oz cloth and found that the 2.5oz is not really any tougher and adds a lot of weight. You can find small pieces of 1.7oz cloth on ebay where I paid $25 for a 38" x 36" piece (including shipping).
You may find some folks claiming the 1" and 2" strip Kevlar is a better way to go because it is easier to work with which is true but if you are cost conscious, you will want to avoid this as the cost of strip Kevlar can run five to ten times more expensive per square inch.
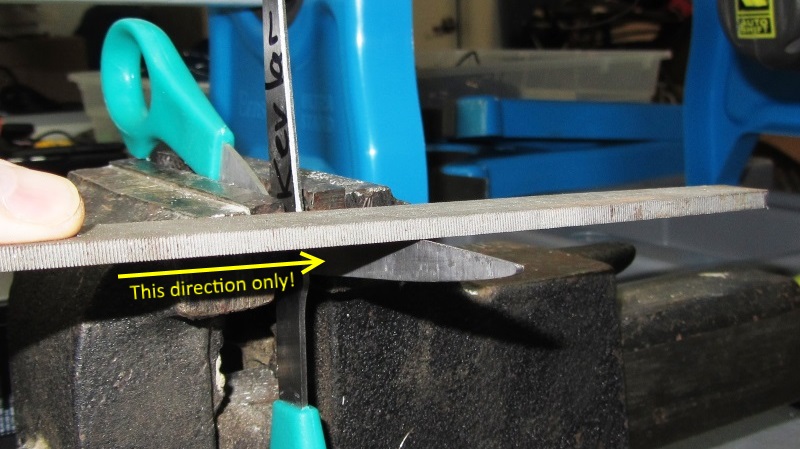
To cut the cloth you can buy special scissors or for about $2, make your own. $2 is what I paid at a "dollar" store for a pair of Fiskar scissor clones. After you get your cheap scissors, clamp them in a vice and file or grind them with a course file or grinder against the sharp edge.
|
| Scissor Filing or Grinding |
You only need to just rough up the edge and grind or file in only the one direction shown above. If you have a disc grinder this will work better than the file method just be cautious! If done evenly these scissors will cut through many feet of Kevlar like butter before needing re-sharpening.
Cut and Stick
Now that you have your swoopy kevlar scissors, go ahead and cut the shape. Do not tape the edges because the tape will badly fray the edges. Just cut a clean shape with the scissors and try not to "pull" on the edges.
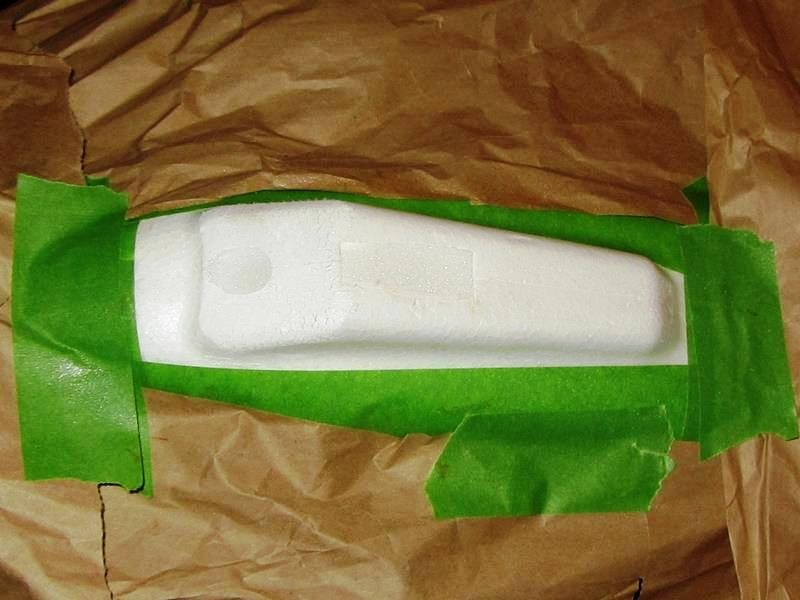
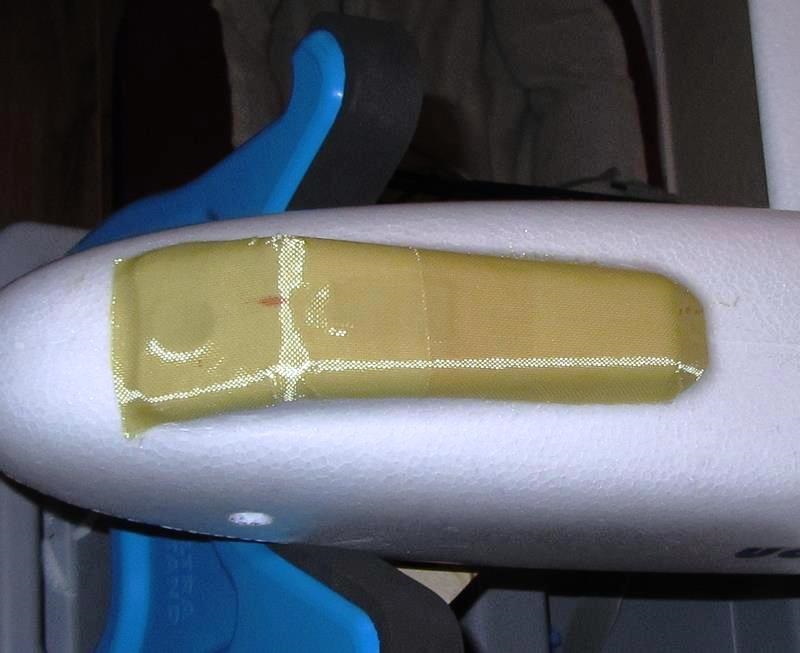
Next, spray a very light fog of Scotch 77 or equivalent spray adhesive on the area your new kevlar skid will cover. Lay the cloth carefully over the area and gently smooth out the cloth until you have no wrinkles. Here are a few pictures from my Mini Talon:
|
| Mask and spray the adhesive |
|
| Wait a few minutes then place the Kevlar and smooth it out |
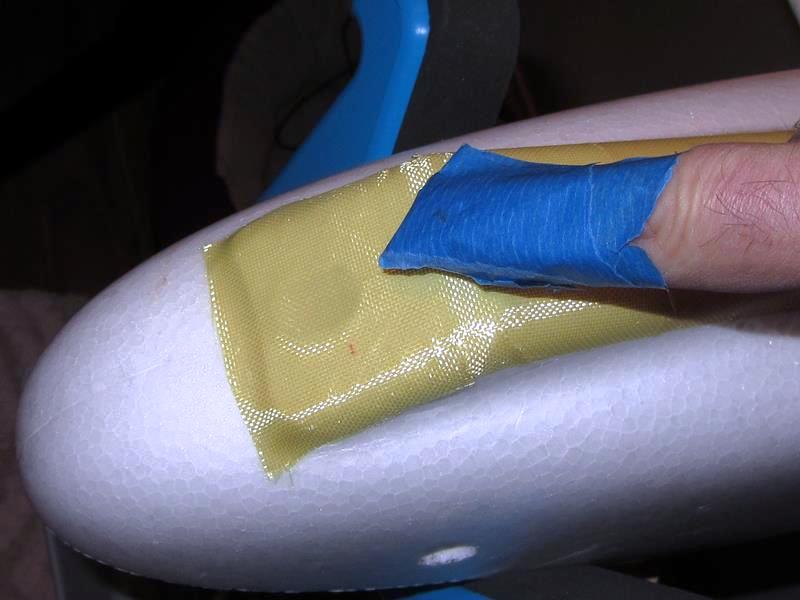
Now, cover your fingers with blue painters tape to protect them from the CA. Start "dribbling" thin CA onto the Kevlar fabric and work it in with your blue taped fingers. Once you have fully saturated all the fabric, spray some CA Kicker on it and let it sit for at least an hour.
|
| Protect your finger with Blue Painters tape and work the CA into the Kevlar |
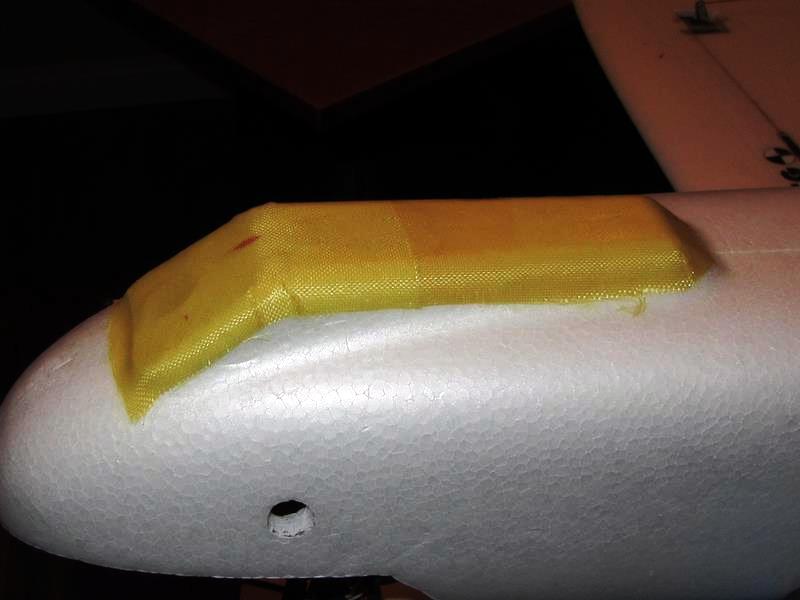
|
| Finish with a light spray of CA Kicker and let sit |
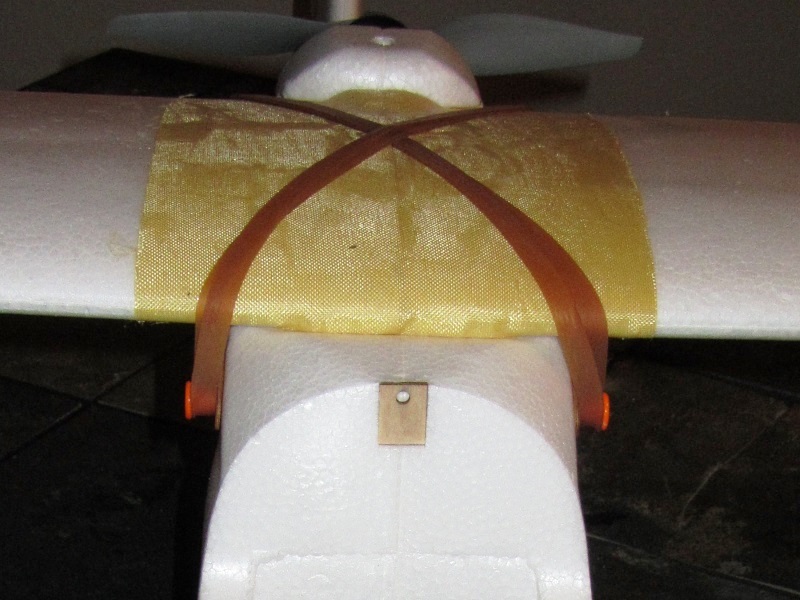
|
| Finished wing joiner on a Skywalker 1900 - STRONG! And no more dents from the rubber bands |
You will find this results in a tough as hell skid plate which is concrete, asphalt and rock worthy.
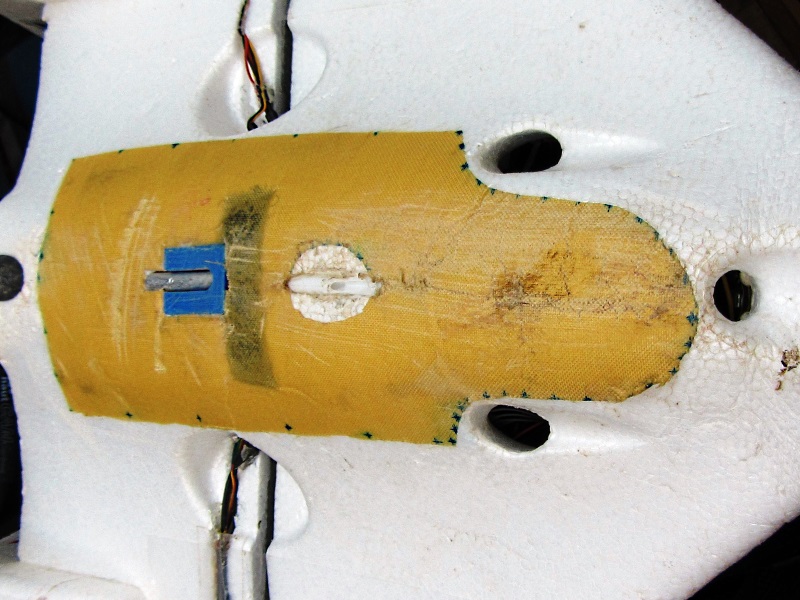
|
| Well used on my FX61 |
See Also
Vendors to use for this project
Comments? Questions?