Difference between revisions of "WingWing Z84"
(→Flight Control) |
(→Flight Control) |
||
| Line 185: | Line 185: | ||
{| border="0" cellspacing="1" cellpadding="1" width="700" align="center" | {| border="0" cellspacing="1" cellpadding="1" width="700" align="center" | ||
|- | |- | ||
| − | | align="center" | [[File:Z8422.jpg| | + | | align="center" | [[File:Z8422.jpg|450px]] |
|} | |} | ||
<br> | <br> | ||
Revision as of 12:24, 27 April 2018
| 700px | |
| New (tiny) wing! |
Introduction
I decided to try something much smaller in the Wing world. The Z84 is a smaller version of the C1 and FX-61 and I am hoping it flys well as I want to take it backpacking! For flight management/control I'll be starting with an Omnibus F3Pro flight controller to keep it light and simple.
Here then is a collection of my build notes and eventually a flight review of this plane.
General Specifications
Distributor - HobbyKing, USA
Aircraft - Zeta WingWing Z84
Build Date - April, 2018
| Airframe Type - | FPV Wing | All-Up Weight - | 18.3oz (520g) w/ 3S/3500 Li-ion Pack | |
| Wingspan - | 33.26in (845mm) | |||
| Length - | 15.9in (405mm) | COG - | Spar front edge (Stock) | |
| Wing Area - | 1.21 ft^2 (11.1dm^2) | Wing Load w/3500mAh/3S - | 15.1 oz/ft^2 (47g/dm^2) | |
| Motor - | Cobra CM2204-2300kv V2 | Max Continuous Power - | 190 watts (3S) | |
| Propeller - | 6 x 4.5 HQProp | Max Prop Power - | 210 watts @ 2550ft ASL | |
| Static Thrust & Prop Speed - | 680g & 72mph @ 2550ft ASL | Static Thrust/Weight - | 1.30 | |
| Battery Type - | 3S1P NCR18650GA Li-ion | Battery Capacity - | 3300mAh | |
| In flight efficiency - | TBA | Flight Time - | TBA | |
Components/Flight Gear
Below is the approximate layout of installed components:
TBA
Power Set-up
For power on this build I will start with a Multistar Elite 2204-2300kv motor and a HobbyKing Blue Series 20A with a single Low ESR capacitor added.
- Motor - Multistar Elite 2204-2300kv
- ESC - Blue Series 20A
- Prop - HQ6x4.5
- Battery - Li-ion 3S/3500
Motor Mount
I have designed a 3D printed motor mount which places the motor 10mm rearward of the stock mount. This is to accommodate a standard 22xx motor and standard prop. To use a folding prop I will have to put the motor on an additional 10mm stand-offs.
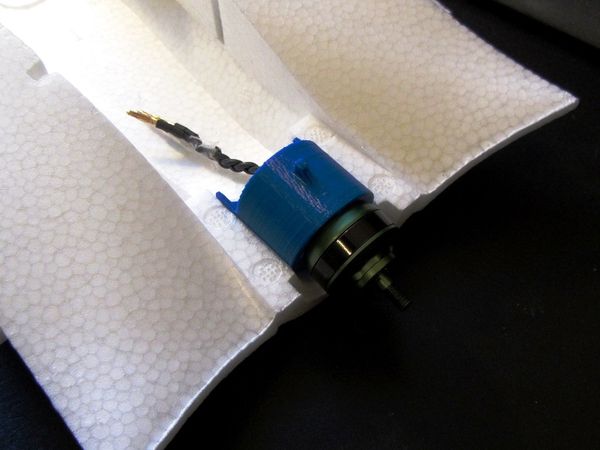
|
| Mount and 2204 motor |
ESC Mount
I decided to design and print a simple mount which glues into the motor mount and bottom of the fuselage. The ESC is held down with a single wire tie and there is a foam pad between the ESC and mount deck.
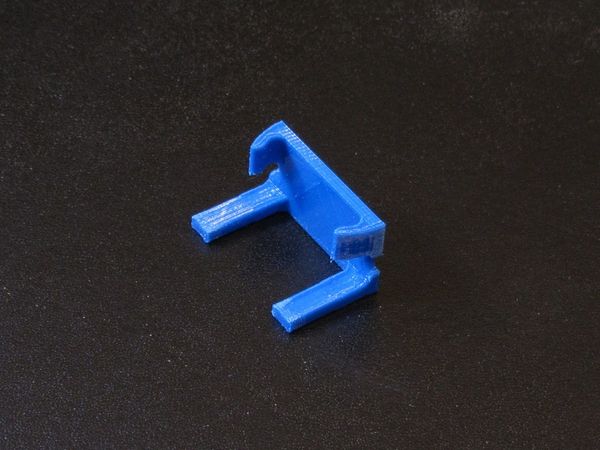
|
| ESC mount |
Flight Control
For initial flight control I chose the Omnibus F3Pro from Banggood. It is an inexpensive and in my experience completely reliable FC. This is the same board I have in the larger C1 Chaser
-
- w/iNav 1.8.1
FC Mount
To mount the FC I Glued in some 6mm stand-offs in the bottom of the fuse.
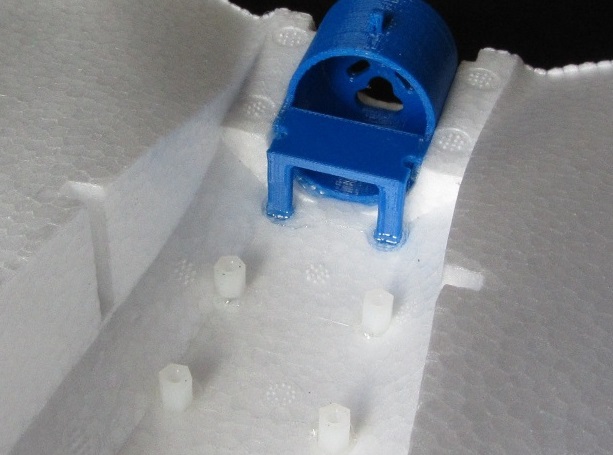
|
| Motor, ESC and Flight Controller mounts |
RC Control
For radio gear I am using my standard DragonLink V2 system. I have mounted the RX with integrated DL dipole inside the left verticle stabilizer.
| 700px |
| DragonLink UHF antenna |
| 700px |
| RX mount |
GPS Mount
For the GPS I used an inverted version of the one on my C1. This is to mount it under the wing and it is sized for a Ublox Mini M7 GPS.
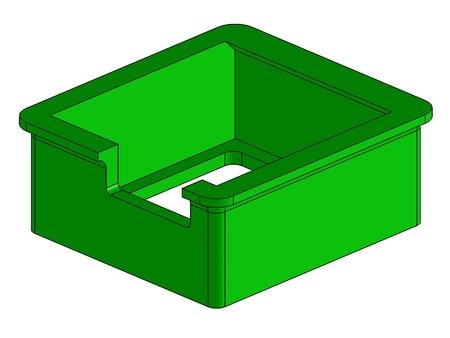
|
| 600px |
FPV Gear
TBA
- VTx - RMRC 250mw, 1.3G
- FPV Camera - Foxeer Micro with 2.1 lens
- HD Camera - TBA
| 700px |
| Initial FPV gear |
Airframe Mods and Set-up
Wings
TBA
Airframe Changes
I made some initial changes based on experience with the C1 and FX's and listening to some of the more expert posters on RC Groups.
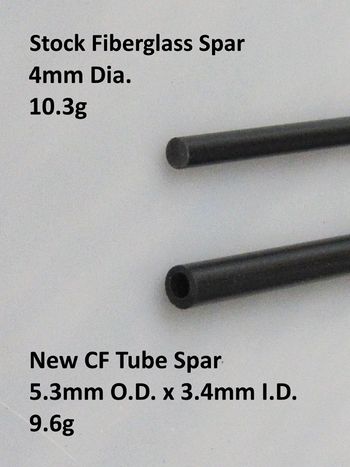
The first change was to swap the very flexible fiberglass spar for a slightly larger Carbon Fiber tube spar. The CF spar is slightly lighter but considerably stiffer. I only had to do a small amount of hot-wire work to fit it in nicely. Of course this means I will have to come up with my own hatch latch (stay tuned).
|
| Spar change |
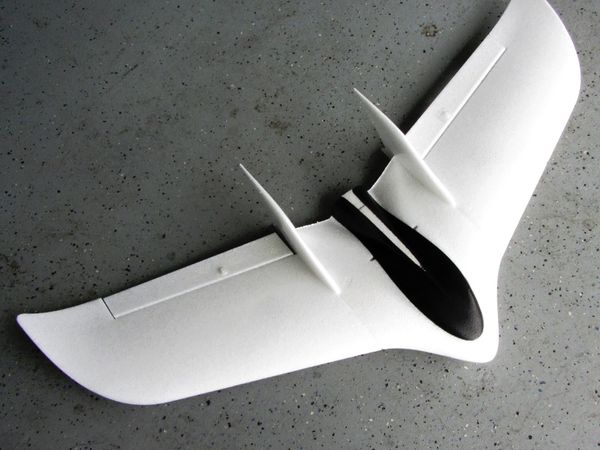
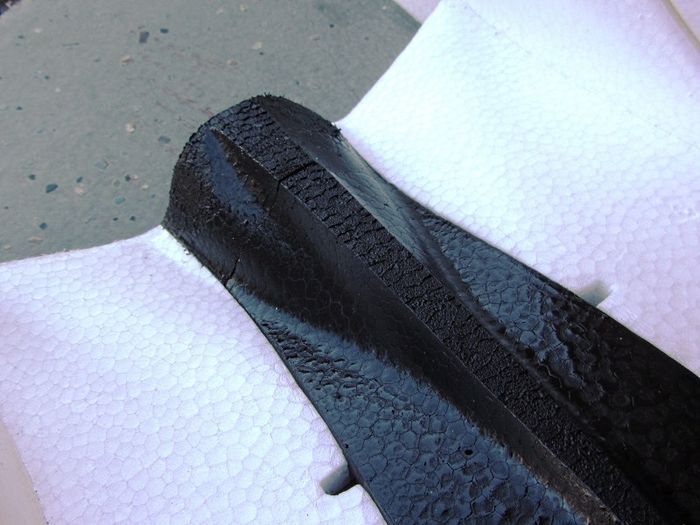
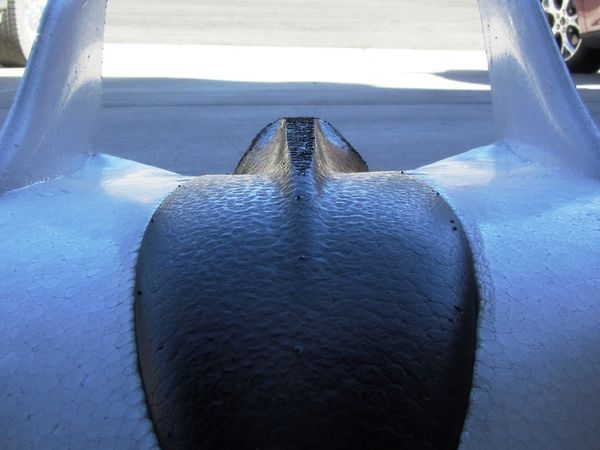
The next "Aero" change I made was to cut down the center fin on top of the hatch and grind away the rear flare around the motor mount top and bottom (not shown). The fin on top just collects damage and blocks air to the prop. The flare around the motor mount makes the prop much less efficient and much, much noisier!
|
| Initial cut |
|
| close-up |
|
| Front-to-back view |
Kit/Build Review
I opted for the bare bones kit because I live and fly at 2500ft or more altitude and it has been my experience that most PNP setups are underpowered and supplied with servos that could be improved, etc. With that said, all in all this is a really nice kit. The linkage components in mine are well made and sized perfectly.
Here are some of my personal points for improvement:
- TBA
- TBA
- TBA
Maiden!
TBA
Parting Shot
| 1000px |
| Wait for it! |
Project 3D Print Files
TBA
See Also
- TBA
- TBA
- Thingiverse Design Page
Some of the Vendors I used for this project
Comments? Questions?