Strix StratoSurfer
Contents |

|
| New plane! |
Introduction
Decided to try something different and having never gone down the Bixler road, this seemed like a good place to start. After reading much about this plane, I decided to start with a larger motor/prop combo. I also decided to try an Omnibus F3Pro flight controller to keep it light and simple.
General Specifications
Distributor - BangGood USA
Aircraft - X-UAV Mini Talon
Build Date - April 2017
| Airframe Type - | Top Wing FPV Specialist | All-Up Weight - | TBAoz (TBAg) w/ 4S/7000 Li-ion Pack | |
| Wingspan - | 59 inches (1500mm) | TBAoz (TBAg) w/ 4S/5200 Li-Poly Pack | ||
| Length - | 39 inches (1000mm) | |||
| Wing Area - | 3.23 ft^2 (30dm^2) | *Wing Load w/5.2-4S - | TBA.0 oz/ft^2 (TBAg/dm^2) | |
| Motor - | Sunnysky 2216-1250kv | Max Continuous Power (4S) - | 370 watts continuous (4S) | |
| Propeller - | 8 x 7 Aeronaut Cam Carbon Folder | Max Prop Power - | 325 watts @ 2550ft ASL | |
| Static Thrust - | 1150 @ 2550ft ASL | *Static Thrust/Weight - | 0.TBA | |
| Battery Type - | 4S1P Li-ion/Li-po | Battery Capacity - | 7000mah/3C or 5200mah/10C | |
| In flight efficiency - | TBA | Flight Time - | TBA | |
| COG - | 65mm @ Wing root (Stock) | *With the | 5200mAh pack |
Flight Gear
The following are some of my selected components with links to some of my favorite vendors.
Power Set-up
For power on this build I have chosen the Sunnysky X2216-1250kv. For an ESC, I am using a HobbyKing Blue Series 40A with extra Low ESR capacitors added.
- Motor - Sunnysky 2216-1250kv
- ESC - Blue Series 40A
- Prop - Aeronaut Cam Carbon Folder 9x7]
- For more informaion on setting up a pusher folding prop - How To - Set-Up a Pusher Style Folding Prop
- Battery - Multistar 4S/5200, 10C
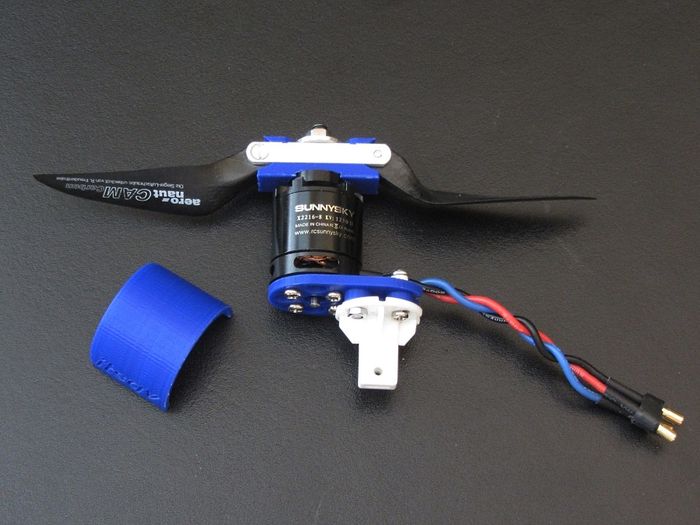
|
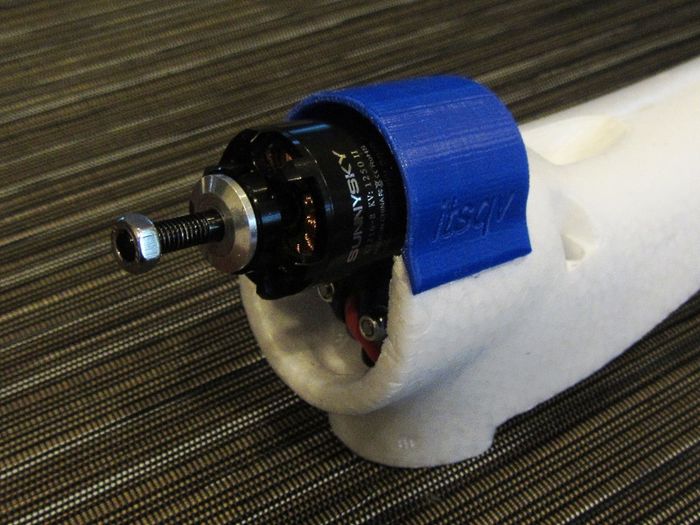
|
Motor Mount
For the motor mount I designed and printed one that spaces the motor 6mm rearward and 19mm above the original mount to get the clearance needed for 7" & 8" props. Additionally, I printed a cowl to protect the motor and direct cooling air to the rear of the motor.
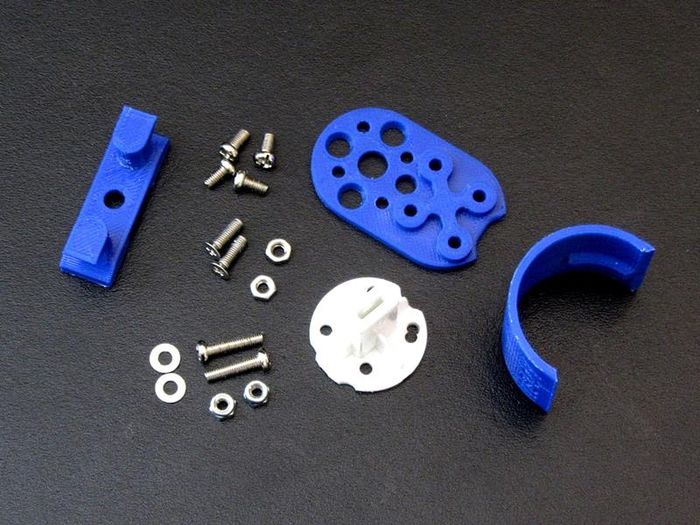
|
| Motor mount parts |

|
| Mounted |
ESC Mount
I decided to design and print a simple mount to hold the ESC. It mounts with four M3x6mm nylon screws and a wire tie to hold the ESC. This print is sized for a 25mm wide ESC.
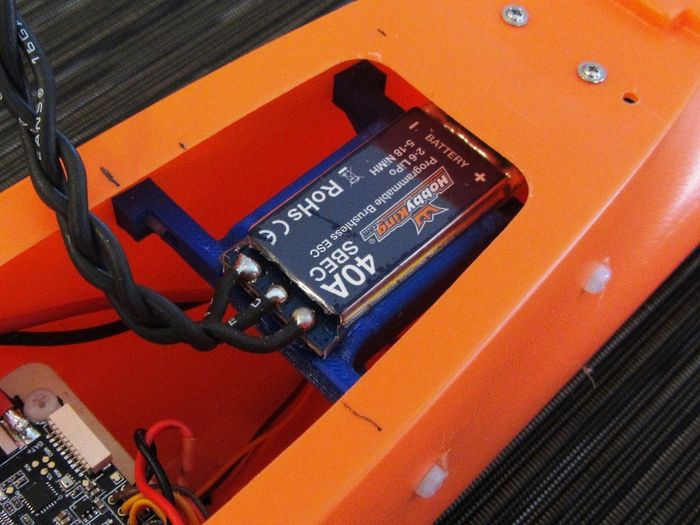
|
| ESC craddle |
Flight Control
For flight control I have chosen the Omnibus F3Pro from Banggood. It is very inexpensive and in my experience completely reliable.
-
- w/iNav 1.8.1
FC Mount
To mount the FC I drilled out the existing mount holes to 2.3mm then tapped them to M3 and flooded the tapped holes with thin CA. This makes them more than strong enough for a set of rubber M3x6mm stand-offs.
| 700px |
| FC mount |
RC Control
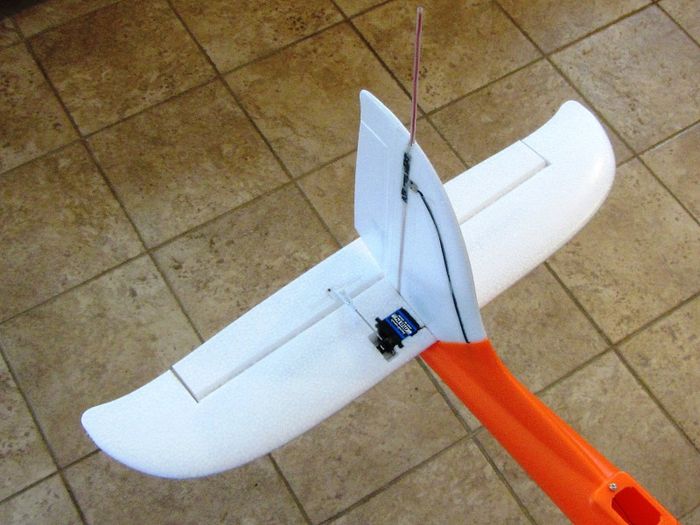
For radio gear I am using my standard DragonLink V2 system. I have mounted the DL dipole inside the verticle stabilizer. The RX is mounted on a printed deck below the GPS mount.
| 700px |
| Rear |
GPS Mount
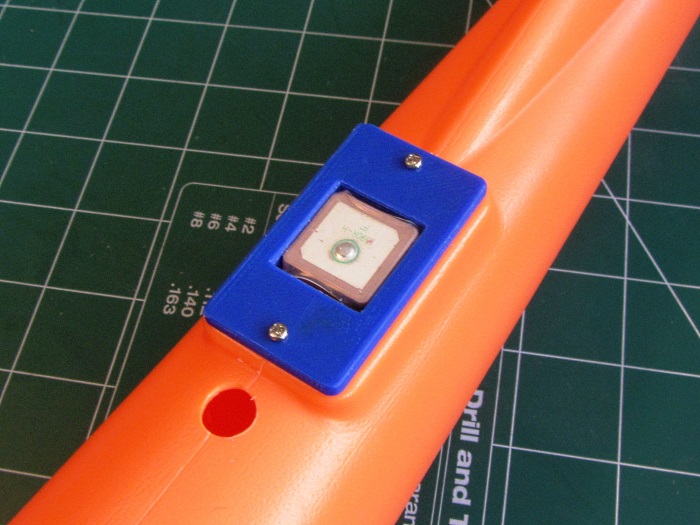
For the GPS I printed a mount plate to replace the white plate on the rear of the fuse. This is sized for a Ublox Mini M7 GPS.
|
Video Downlink
For the video downlink I am using an RMRC 1.2/1.3G VTx with a DragonLink video dipole. I will either run 400 or 800mw depending on where and how I am flying. For an FPV camera I have selected a Fatshark V2 700tvl unit because of its size and decent performance.
Airframe Build and Assembly
Stabilizers
On the tail linkage I used the stock linkage bits with metal gear digital servos.
|
Wings
Nothing new or special here. I added 1" (25mm) of 3 mil laminate to the leading edge. Linkage is the same as the elevators and servos are Corona DS929MG's.
Maiden Video!
Mods
- Stay tuned
See Also
- TBA
Project 3D Print Files
The following are the 3D print ZIP files shown in this build.
Some of the Vendors I used for this project
Comments? Questions?