
January 2016
|
|
|
|
|
Mounted on my big Talon
|
Introduction
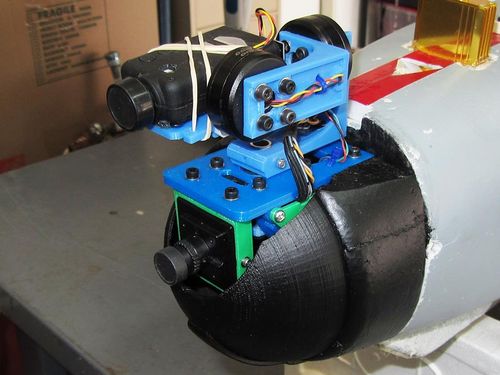
Some months ago I threw one of my 3 axis gimbals on my big Talon to see if I could get it to work at higher speed than it would see on a multi-copter. I also wanted to use Follow (Pan) mode so the minor bumps would be smoothed out but the gimbal would still follow the planes pitch and roll so you would'nt loose that sense of flying.
This was mostly successful with the exception of the yaw axis which simply could not manage the high air speed. I tried tuning, larger motors and aerodanamic ideas but still could not get the yaw axis to calm down and behave so I decided to change the Yaw axis to a servo .
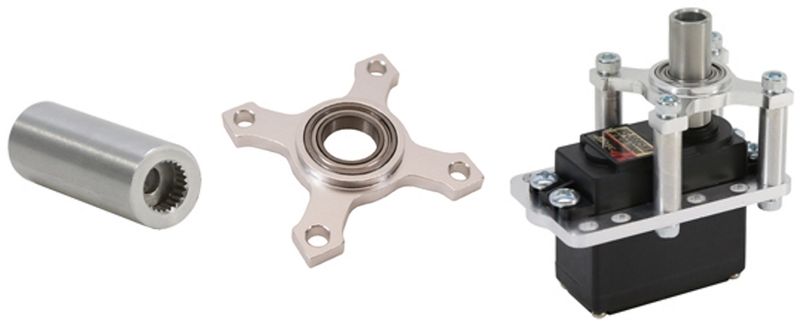
While considering different ways to design this, I found some interesting bits at ServoCity.com which help stabilize the yaw servo so the upper gimbal isn't putting all its mass on the servo bearing. This is done with a coupler designed to fit a Hitec servo and a bearing plate which bolts to a servo plate.
|
| Coupler and Bearing plate
|
Lower Servo Unit
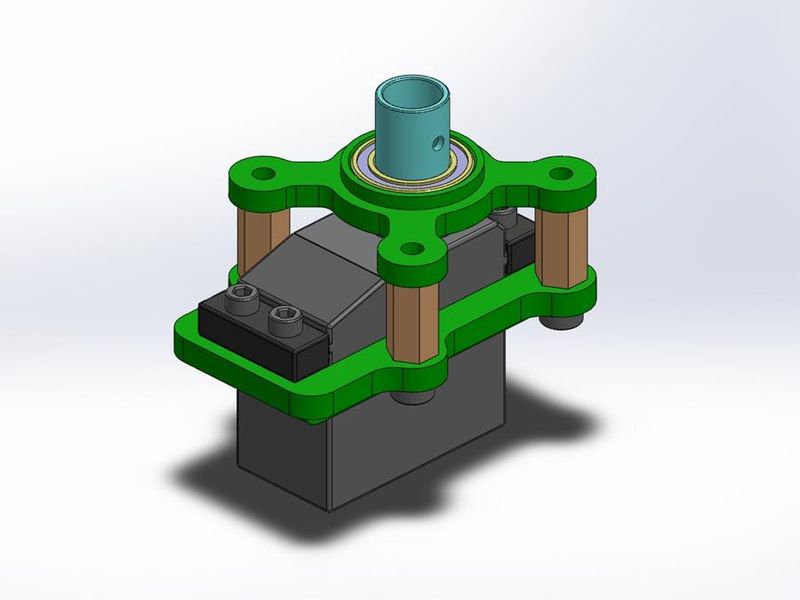
I chose a Hitec HS-5245MG digital servo because it is relatively small at 32g, it has good resolution and is fully programmable to 200 degrees travel. To fully build the lower servo unit then, I had to design and print a servo plate that would interface with the bearing plate and coupler.
|
| Lower Servo unit
|
Assembly Mount
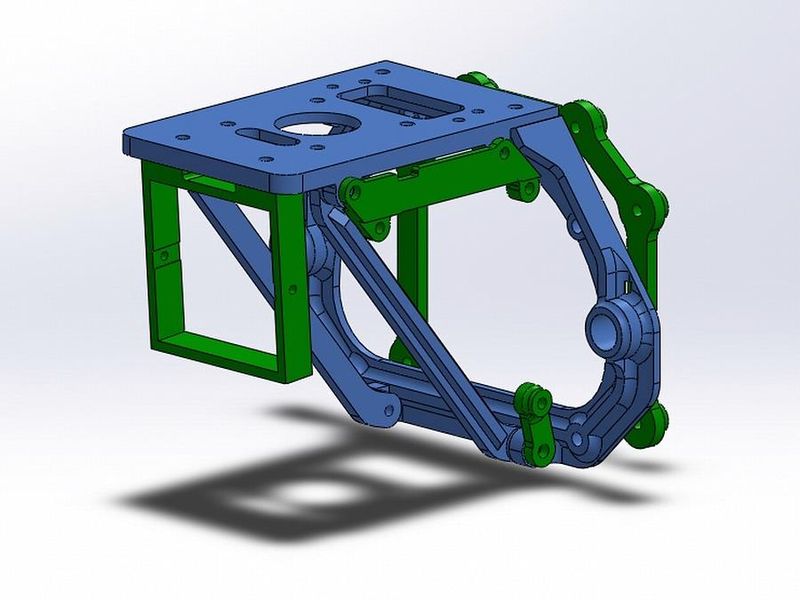
To fit this to my Talon, I designed a mount plate and structure that bolts to my existing bulkhead plate from previous gimbals and mounts and also fits onto the 8mm carbon tube nose cone mounts. Additionally I added a mount bracket and stabilizer piece for the Storm32 gimbal controller and a -5 degree holder for my effio FPV camera.
|
| Mount structure
|
Upper Gimbal Unit
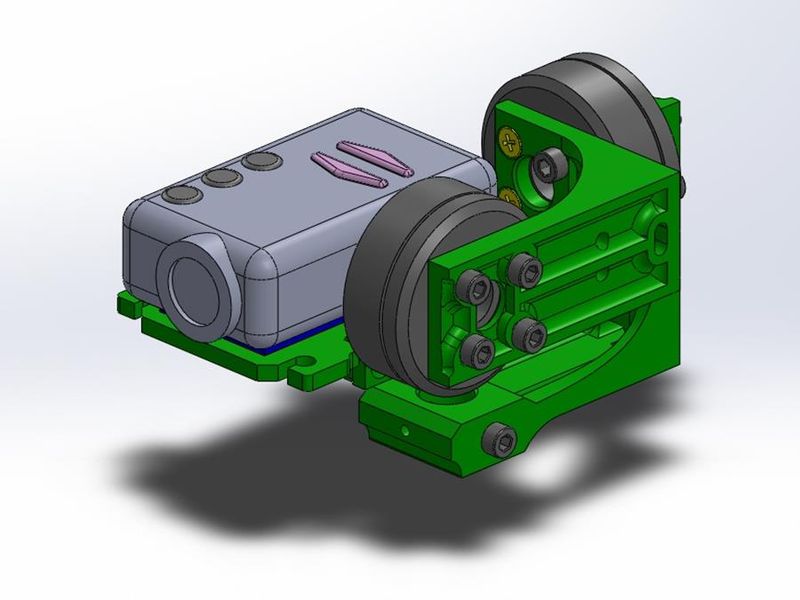
This was a relatively easy part since I had already designed, printed and tested many different gimbals for the Mobius camera. I mearly had to design a new yaw arm that would attach to the new servo coupler. I then used previously designed and printed parts to hang the two brushless motors and the roll and pitch arm.
NOTE: The gimbal arms are designed for use with RCTimer hollow shaft 2208 motors and a Mobius equipped with a 'C' lens.
|
| Upper Gimbal unit
|
Dome and Dome Protection
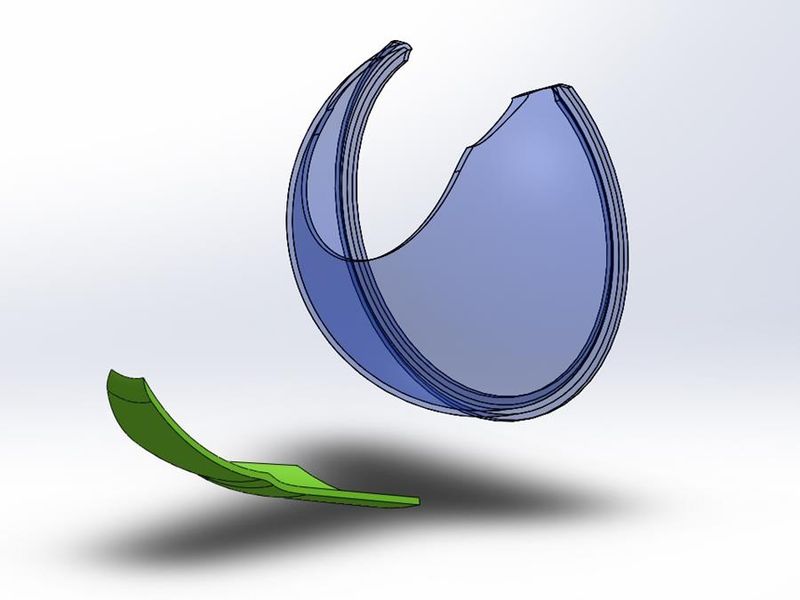
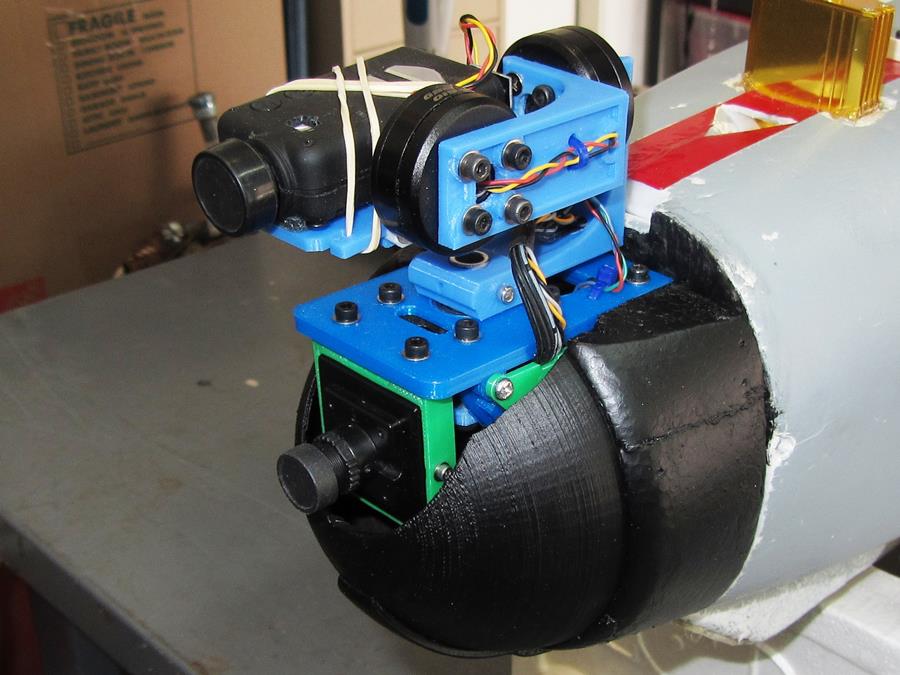
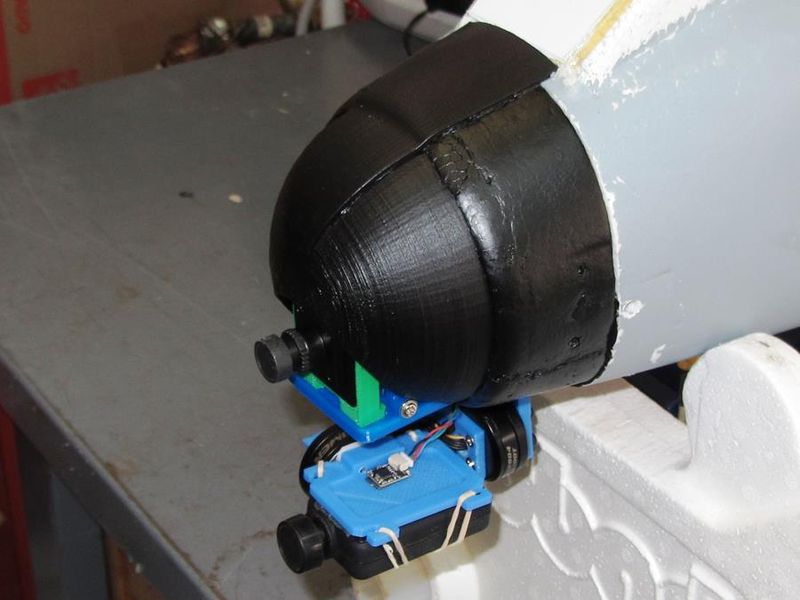
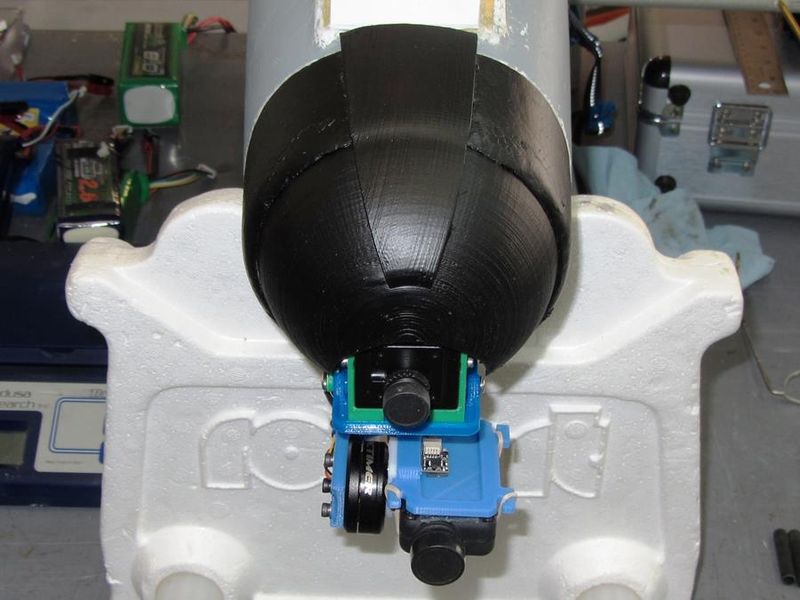
Because I had pretty much destroyed my original clear dome I needed to print a new one which copies exactly the clear dome dimensions and adds a wider lip to the glue area at the base of the dome. Additionally, I designed a guard (skid) which glues to the bottom of the dome assembly and provides significant protection from rough landings on the nose.
|
| Guard and Dome
|
The Complete Package
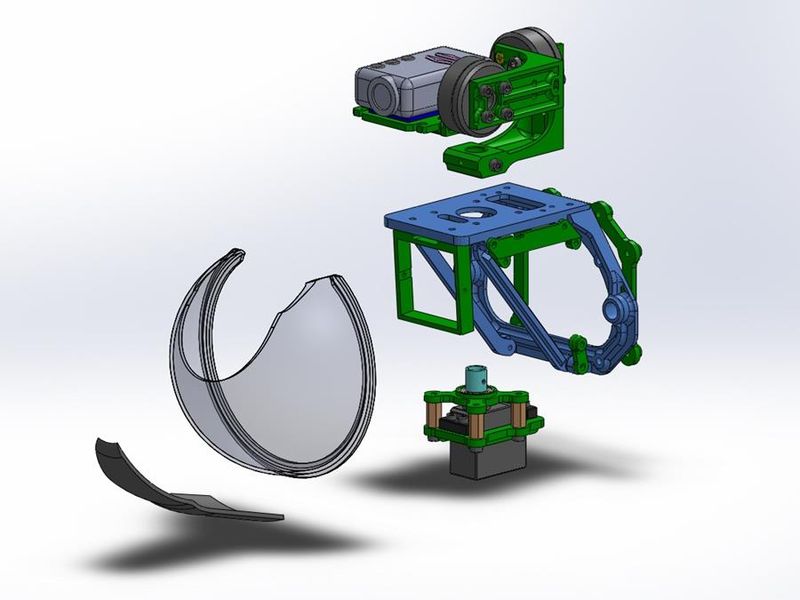
The complete Gimbal assembly with all hardware and electrical components weighs 325g (11.5oz) so it isn't super light but it is very solid and should give me good service. The printed Dome with Guard piece adds an additional 23g over the stock Dome.
|
| Talon components
|
The Real Deal
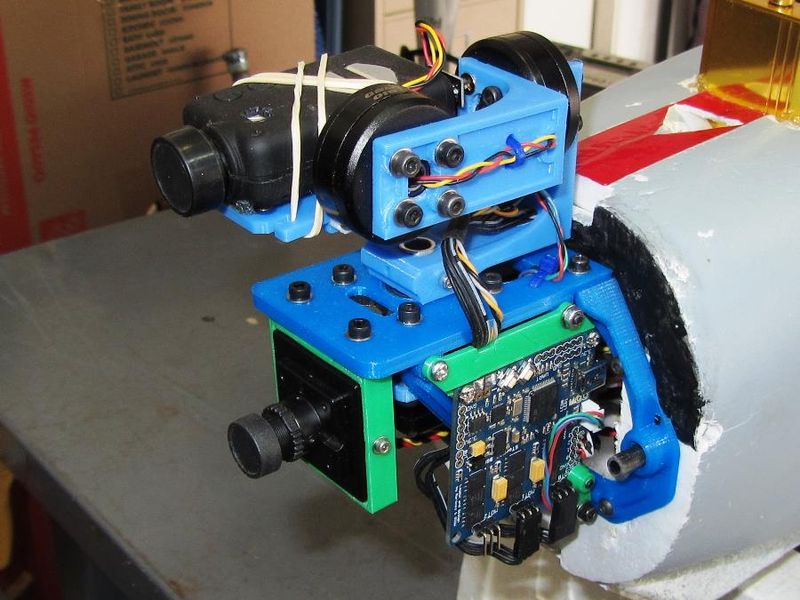
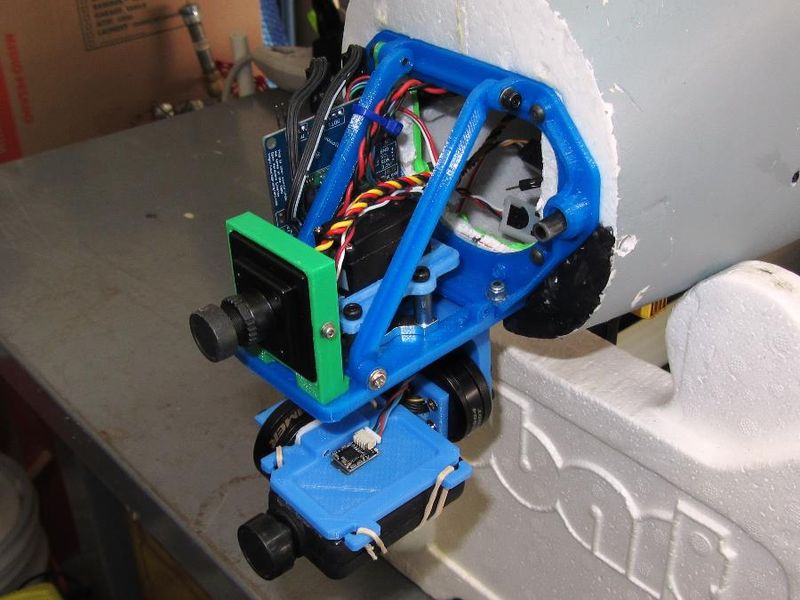
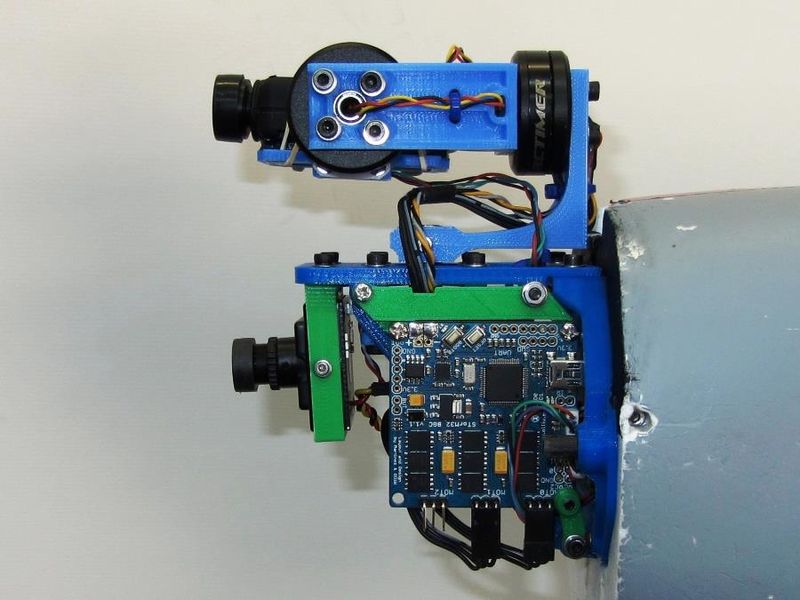
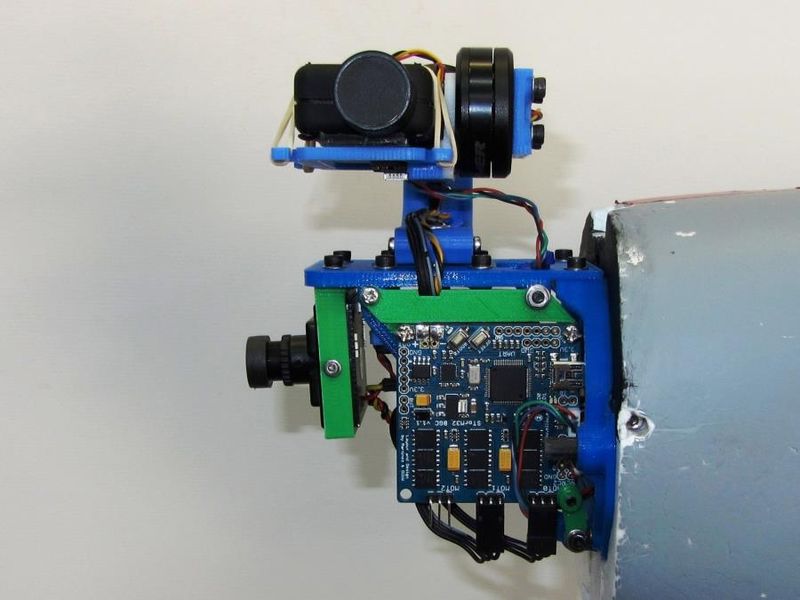
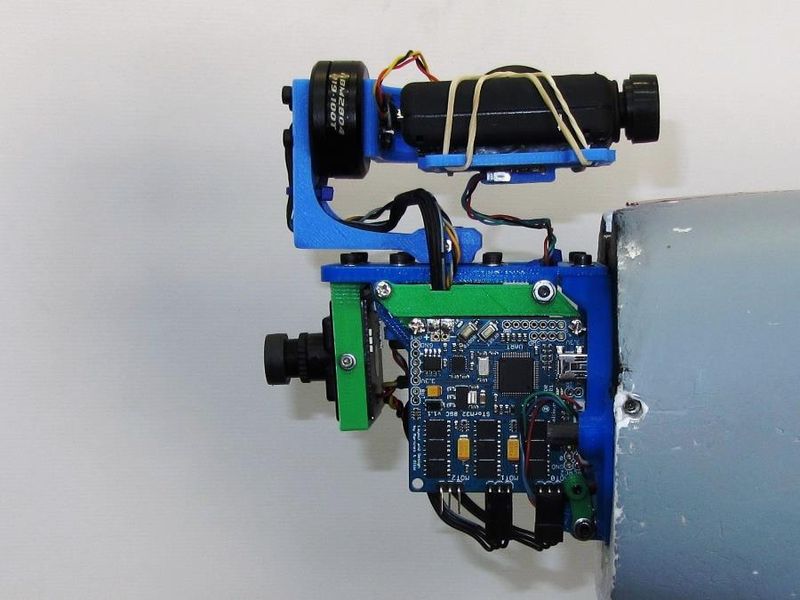
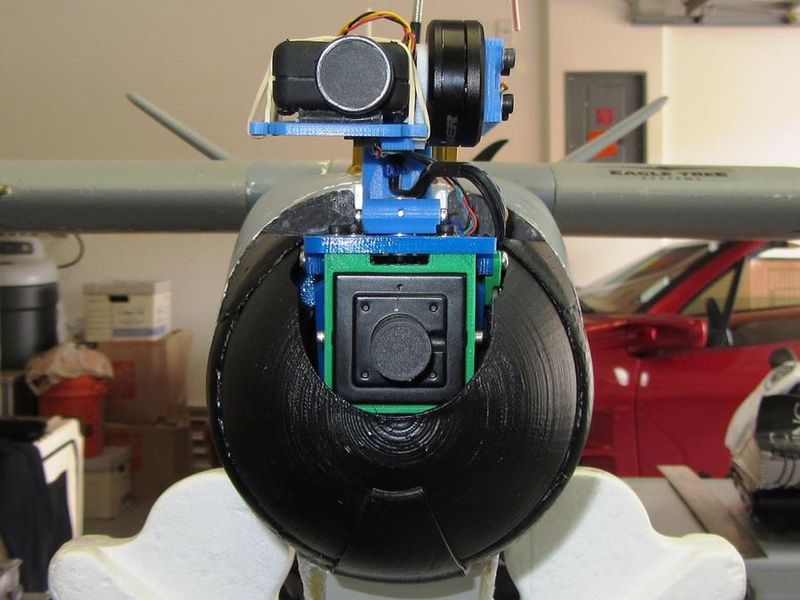
Here then are some pictures of the finished project. Yes, the foam around the dome looks very beat up as it has been through both landing hell and many modifications. Unfortunately, spare parts are hard to come by.
|
| Left front corner
|
|
| Front corner, bottom view
|
|
| Left side, camera forward
|
|
| Camera left
|
Good view of the Storm32 v1.1 controller. These are bullet proof and have a great GUI for setup as well as Bluetooth connectivity to your laptop.
|
| Camera rearward
|
|
| Front corner, Complete assembly
|
|
| Straight front view
|
|
| Bottom corner view
|
|
| Bottom view showing guard piece
|
Future Mods
- I do plan on printing a taller Yaw arm to get the camera up a bit and moving my VTx to get it out of the way :)
Files
Here are links to Zip folders with print files and parts lists for the different sections of this project. The guard ZIP folder includs two versions, one wide (not shown) and one narrow. Both guard pieces also fit the stock clear dome. The Dome prints are given in a couple different thickness's just because we can...(thick one shown)
- email me!


