How To - Set-Up an LRS Relay

| |
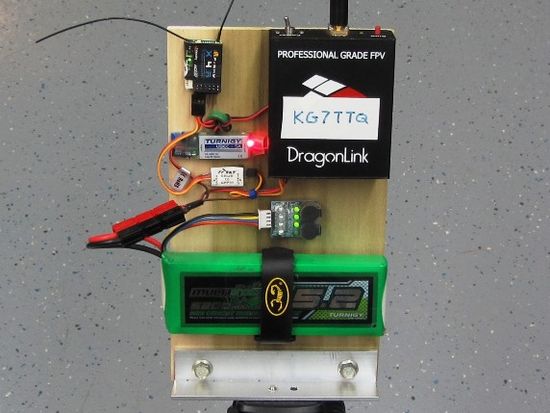
| Relay station! |
Introduction
Always liked the idea of being completely wireless on my ground station so I decided to try setting up a radio relay for my DragonLink LRS transmitter to my Taranis transmitter. The benifits of doing this are:
- Lighter transmitter
- Transmitter battery lasts longer
- No adverse range effect when you move the transmitter to different positions
- Ability to get maximum separation between LRS TX and video receivers
- Ability to sit in your nice air conditioned car while flying :)
Some of the potential drawbacks:
- Adds another system to take care of
- Adds an additional battery to charge and monitor
- Adds some delay to the control response
My Build
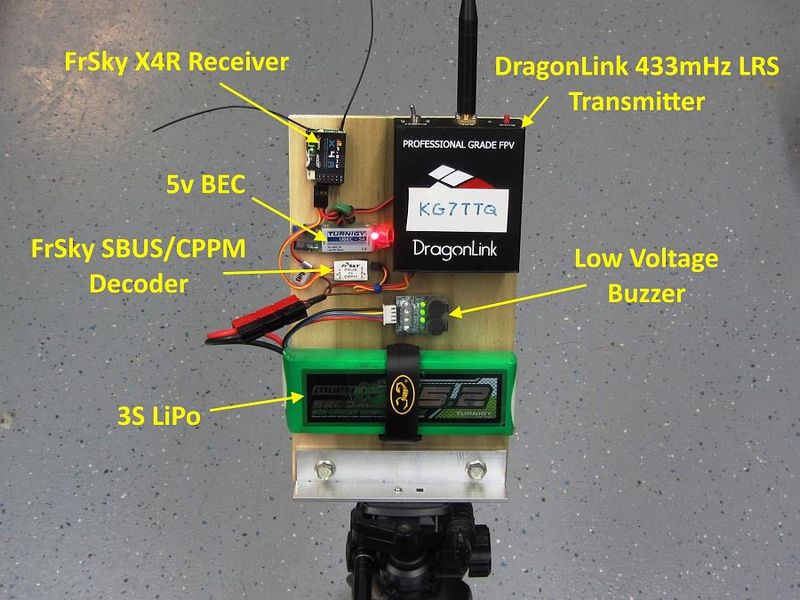
The components I had to buy and put together to set this up:
- FrSky X4R SBUS/CPPM receivers
- Frsky SBUD/CPPM Decoder
- 5v BEC
- 3S Lipo pack
- Light weight tripod
- Hardware bits to mount it all together

|
| LRS relay layout |
Taranis Set-up
If you are changing from an external RF module like I did you need to go to the model set up screen and change to the internal RF module. If you are starting fresh, the Internal module should already be active. Next you need to change to 12 channels by setting the xxx parameter to D16 and 0 to 12 channels.
Receiver Set-up
If you are using a FrSky Taranis, you need to get an 'X' type 16 channel capable receiver. I chose the X4R which is capable of 16 channels with an SBUS output because of its very small size and I didn't need any PPM channel outputs. The X6 and X8 RX's will also work but these offer no additional benefit. To set it up you simply need to follow the FrSky instructions for binding into the 16 channel SBUS protocol.
SBUS Decoder
I used the FrSky SBUS decoder which simply plugs into the SBUS output from the RX and the input to the LRS transmitter. It is basically plug and play.
Wiring
The DragonLink can use 6 to 16v input and it is recommended that it is powered with 12v for best results. The receiver needs 5v so I had to add a 5v BEC and some wiring to get it all hooked up properly. Here is my simple wiring diagram:
See Also
- TBA
Vendors used for this project
Comments? Questions?