Difference between revisions of "Extreme Flight Edge 540T"
(Created page with "Air-Force<br> <i>June 2011</i><br> <br>center {| cellspacing="1" cellpadding="1" width="300" align="center" border="0...") |
|||
| Line 1: | Line 1: | ||
[[File:BTI.png|link=The_Airforce|Air-Force]]<br> | [[File:BTI.png|link=The_Airforce|Air-Force]]<br> | ||
| − | <i> | + | <i>May 2011</i><br> |
<br>[[File:Ef540ta.jpg|center]] | <br>[[File:Ef540ta.jpg|center]] | ||
Revision as of 20:56, 8 January 2016
| Ready! |
Contents
General Specifications
Manufacturer - Extreme Flight
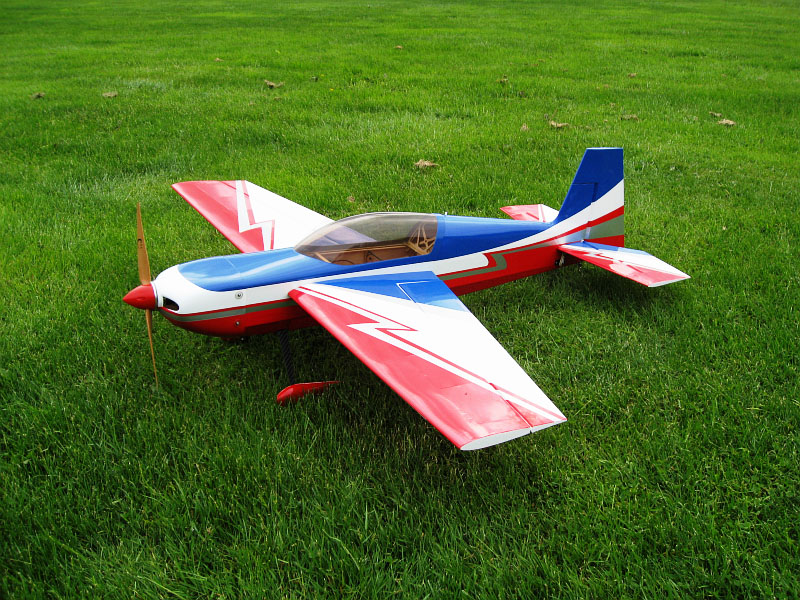
Aircraft - 48" Edge 540T-EXP
Build Date - May, 2011
| Airframe Type - | Mid Wing | Flying Type - | Super 3D | |
| Wingspan - | 48 inches | Length - | 48 inches | |
| Wing Area - | 505 sq. inches | All-Up Weight - | 45.3 ounces (3S) | |
| Motor - | Motrofly 2815-930 Outrunner | Wing Load - | 12.9 oz/sq. ft. (3S) | |
| Propeller - | 13 x 6.5 Xoar | Power - | 470 watts (3S) | |
| Thrust - | 76 ounces (3S) | Thrust/Weight - | 1.68 (3S) | |
| Battery Type - | Lipoly 3S1P | Capacity - | 2200 mah | |
| Speed Control - | Castle Ice 50 | Flight time - | ~8 minutes (3S) | |
| BEC - | Internal | Servos - | Hitech HS-65MG & Airtronics 94809 (Tail) |
My Rates
| Aileron low - | 22% | Aileron hi - | 38 deg | |
| Elevator low - | 18% | Elevator hi - | 50 deg | |
| Rudder low - | 40% | Rudder hi - | 50 deg |
Image Gallery
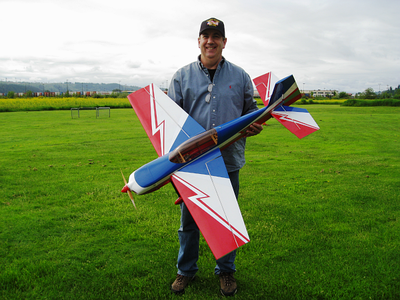
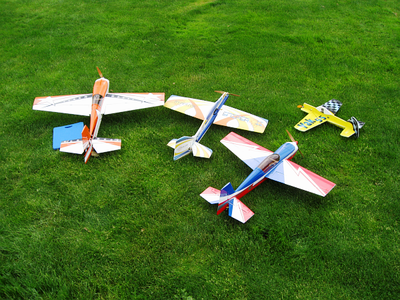
| Handsome! (airplane) | With my foamies and the D'man 60" Slick |
Commentary
At the same event that I decided to go shopping for a larger foamy, I met a guy I had corresponded with on RCGroups.com. He unknowingly had convinced me to buy the PA Extra 260 back in 2008 based on a video he did with that plane. This guy can fly!
Well, he did it again, although this time "knowingly". At the event he pulled out a very experienced Extreme Flight Edge 540T and proceeded to completely humble me (and I suspect others) with his extraordinary skills. I swear, he defies physics!
Once again, I had to have it. I figured I needed a 48" replacement for the PA Extra anyway and this plane I believe would fair better than the PA did with me as a pilot. I already had the Thrust 30 motor which did a very short stint in the Sniper, a set of Hitech HS65MG servos and the PA speed control so from a cost standpoint, it was just the plane.
The maiden and subsequent 3 flights (as of this writing) were amazing. Just like the Sniper, almost no trim needed with the CG at the midpoint and beautiful hands off inverted. Hovering I haven't really worked on yet because I am still trying different CG and control surface set-ups. Knife edge is dead easy and tumbles and spins look very cool. I look forward to a lot of airtime with this beauty.
A little Update
More than 30 flights now and a motor change. The Thrust 30 really didn't have the punch one would expect in a plane of this caliber. I went with a highly recomended Motrofly unit which is by far one of the nicest pieces of work I have ever seen in a brushless. I got a special 930Kv wind as recomended by the incredibly talented FlopGun and this set up really brings this plane alive. Now all I have to do is learn how to "really" fly 3D!
One more note - The PA260 that this plane replaced was one of my favs before a dumb thumb (after 2-1/2 yrs) event ended it. In retrospect, the PA doesn't hold a candle to this Edge in terms of build and most certainely flight characteristics. It is extremely confidence inspiring.
- Buy recommendation - Abso-fu-lu-tely!
- Build skill - Novice/Intermediate (ARF)
- Pilot skill - Intermediate/Expert (3D)
- Lesson learned - Keep working on those smooth skills!
But wait, there's more
Upgrade
In December, 2010, Iwhile watching SupaTim fly his buck-and-a-half 3DHS Edge I decided to try what he had done. His plane, which is very similar to mine was way more powerful and had much more control authority. He was getting the power because he was running 4 cells into a 960Kv motor on a 13x6 prop.
It seriously made mine look anemic! So first upgrade - go to 4 cells. I chose the Nanotech 2650/35C packs from HobbyKing because they were available locally and not too expensive ($25).
The second upgrade was to change the rudder servo. Tim has the famous $7 T-Pro MG90 units from HobbyPartz on his and they were really showing up the perfomance of the Hitec HS65MG's. I had already upgraded the elevator servo to the Airtronics 94809 unit. These are pretty pricey at $44 - $54 but the performance is unmatched in any other brand. Here is the comparison at 6v:
| Servo | Weight | Speed | Torque |
| Hitec HS65MG | 11.9gr | 0.11 sec | 30.5 oz/in |
| T-Pro MG90 | 14.0gr | 0.11 sec | 35.0 oz/in |
| Airtronics 94809 | 10.8gr | 0.10 sec | 39.0 oz/in |
So now I have wicked power and absolute control authority where it really matters.
What a difference! The plane is fast, really fast and I now get a solid 10 minutes of flight time. The control is dead solid, no blow back and certainely more precise. I had difficulty getting the plane into a solid knife edge spin before but now it is the KE spin King; insanely fast and tight!
I guess the next upgrade should be my piloting skills...
The heartbreak of the LVC
Ok, this is the part where experiance teaches a lesson and sometimes it is not the first time.
I fly all my electrics with a Quanum battery telemetry system which has programable alarms for battery and cell voltage. This is a wonderful device which helps fully optimize flight time on every flight without ever over-discharging the packs. So, what went wrong? When using this device it is recomended you dis-able the LVC (low voltage cutoff) in the ESC because it should never be needed and you don't want a "surprizea". I got a surprize.
The LVC in the castle ESC was set a little high and when the alarm went off on the Quanum I took my time getting into position to land. I was Harrier/Hovering about ten feet up and the LVC did a hard cut-off.
Pancake!
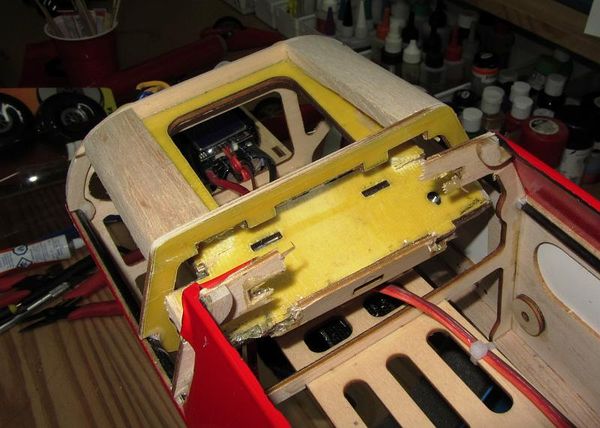
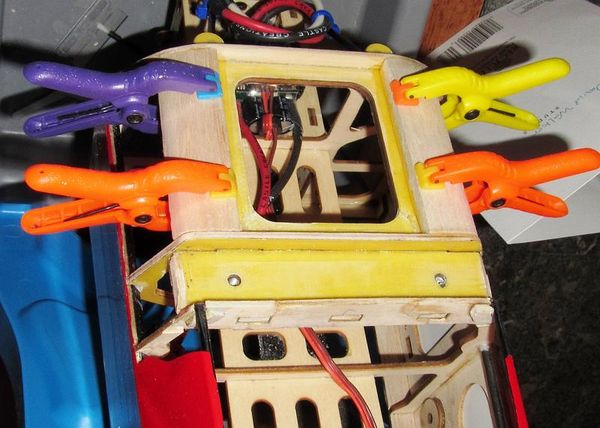
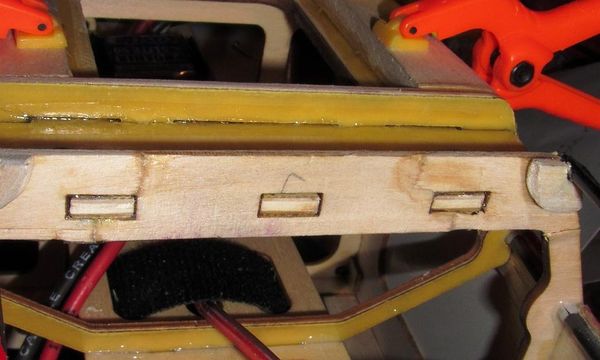
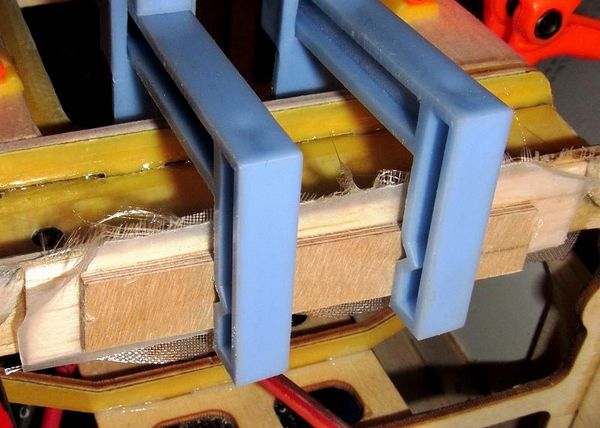
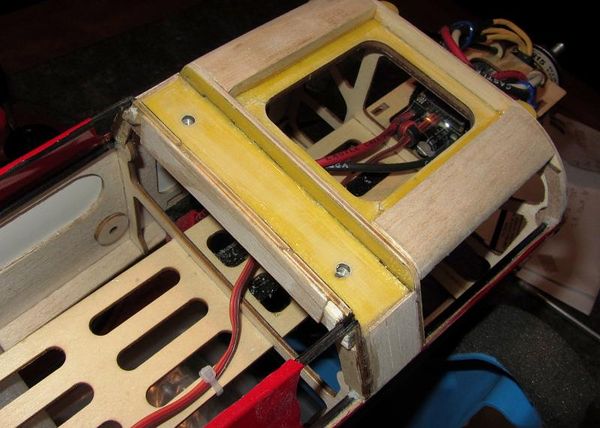
The damage from this flat fall was not huge. Basically the landing gear plate broke away and folded up a bit. Fortunately the wheel pants did not puncture the wing! Here are a few pics of te repair:
The damage after peeling away the covering
Pulling it all back together after scraping all the glue bits away
Detail of the 3 pieces of the former after getting it all stitched together
Adding composite layers of 1/2 oz fiberglass and hard 1/16" balsa
All glued up including new balsa side panels and 1/32" ply doublers
Ready for re-assembly and many flights!
